We are going to disassemble a Westafalia layout in a 1969 combi in a few easy steps and affordable by everyone. We are going to take the combi to the bodybuilder for a complete exterior paint job. For this we must dismantle all the windows. Except that the right rear window is behind the Westfalia wardrobe. But to remove the wardrobe from the combi, the “simplest” is to remove, in order, all the furniture from the layout of the vintage van. Dismantling a Westfalia layout
1 – kitchen cabinet disassembly
It is the most difficult to get out of the combi. At first the 2 screws into the wooden floor with a Phillips screwdriver. Then the 2 original black plastic nuts on the passenger seat side.
The sink drain pipe is sandwiched between the cabinet and the hole in the roof.
Then the sewage and tank drain pipes are also stuck between the cabinet and the hole in the floor.
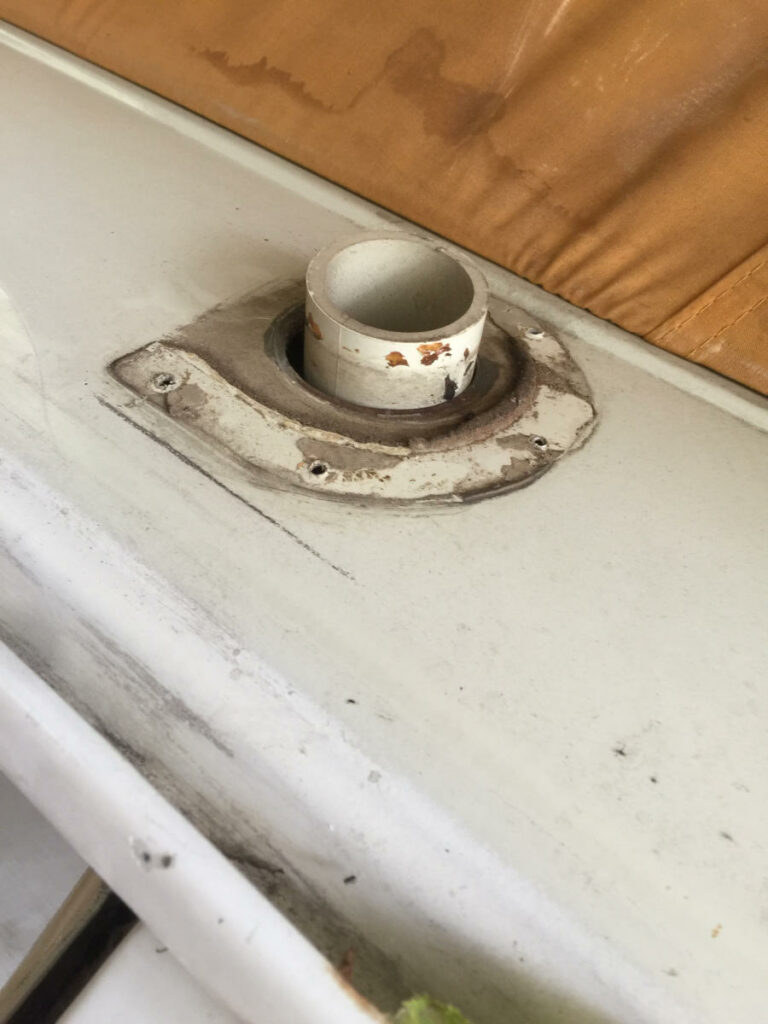
Luckily the vent pipe was broken, which gave us a bit of slack to remove the vent pipe first. We took care to disassemble the westfalia cover with its beautiful Westfalia logo (see photo gallery below).
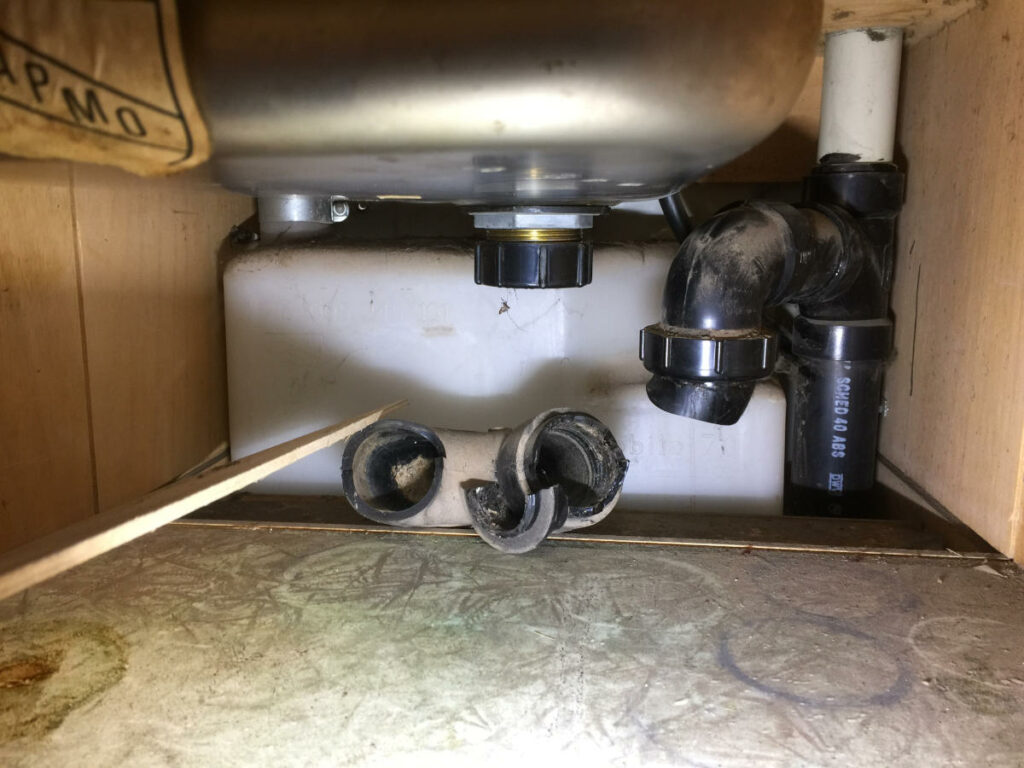
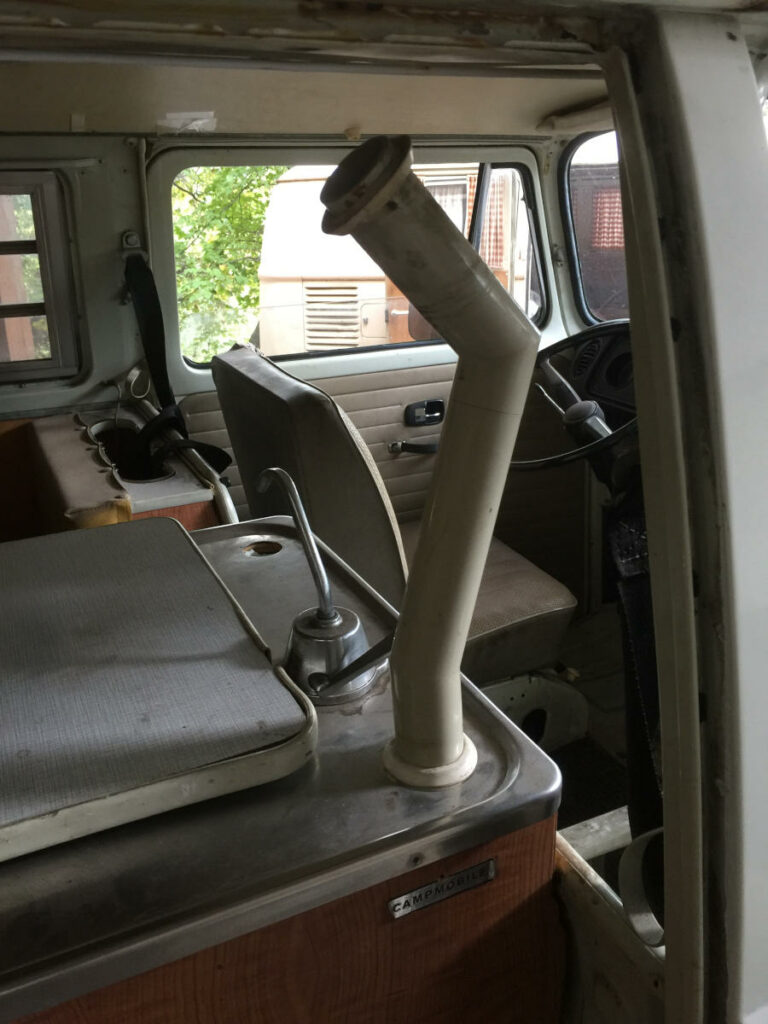
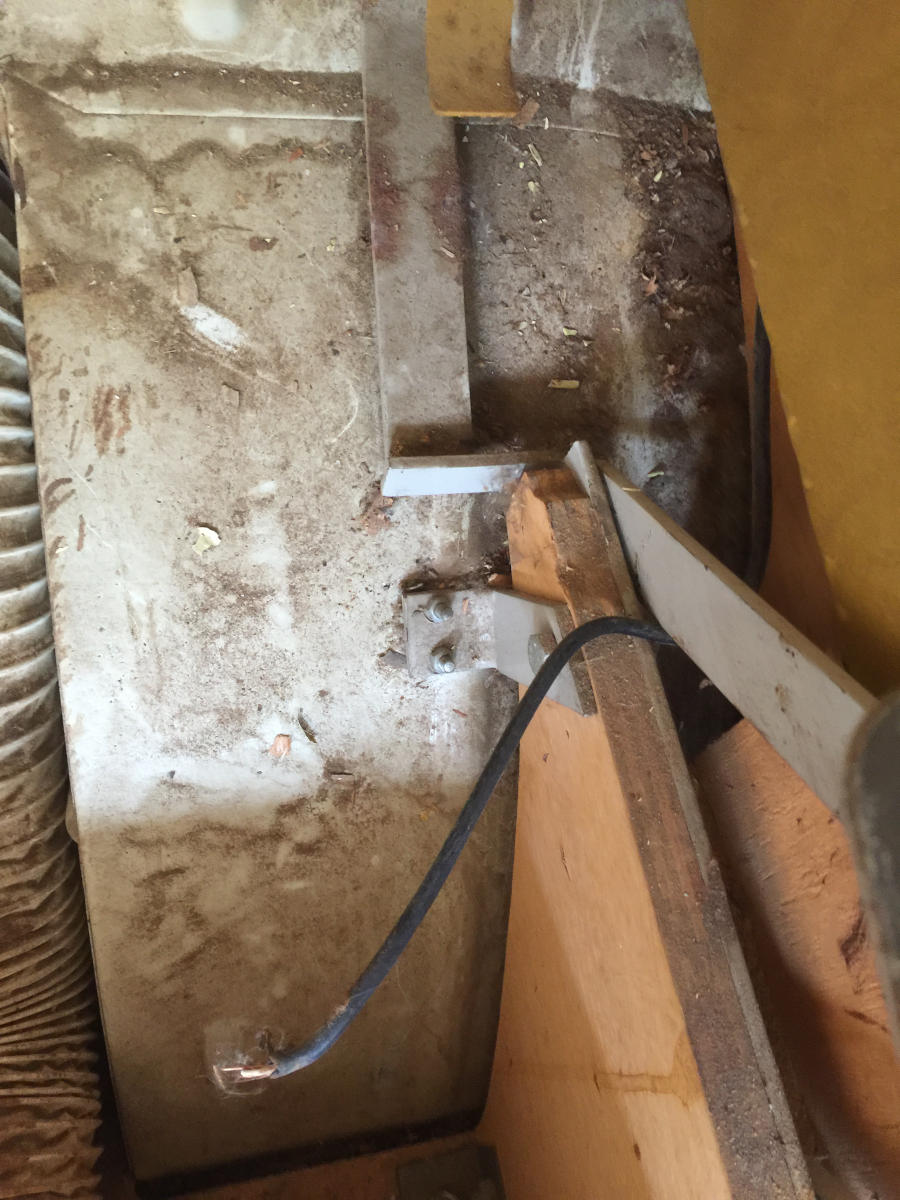
Then we had to saw off the exhaust elbow under the combi. This allows the kitchen unit to be lifted and removed from the Combi. The elements of this exhaust tube are glued from one end to the other, so it is quite difficult to disassemble it without sacrificing it.

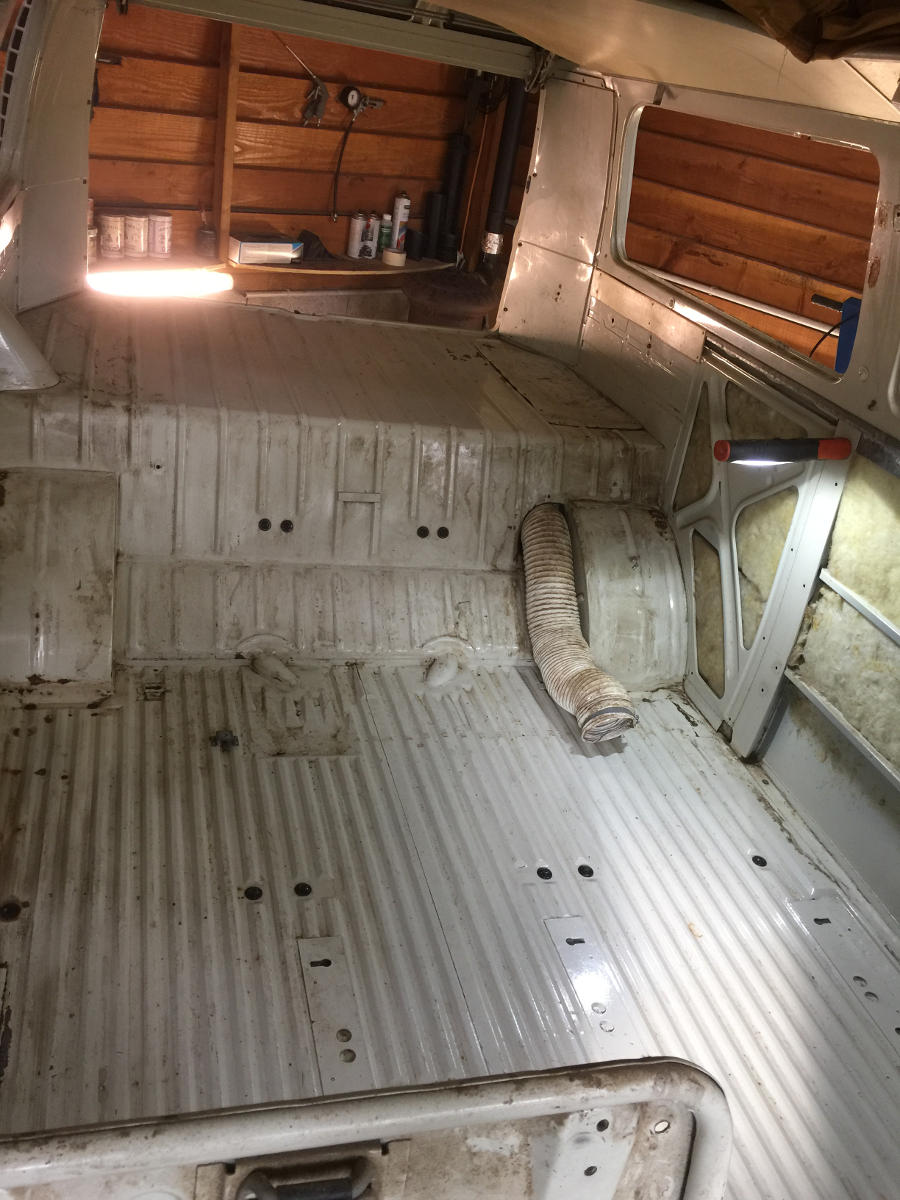
The place is free !
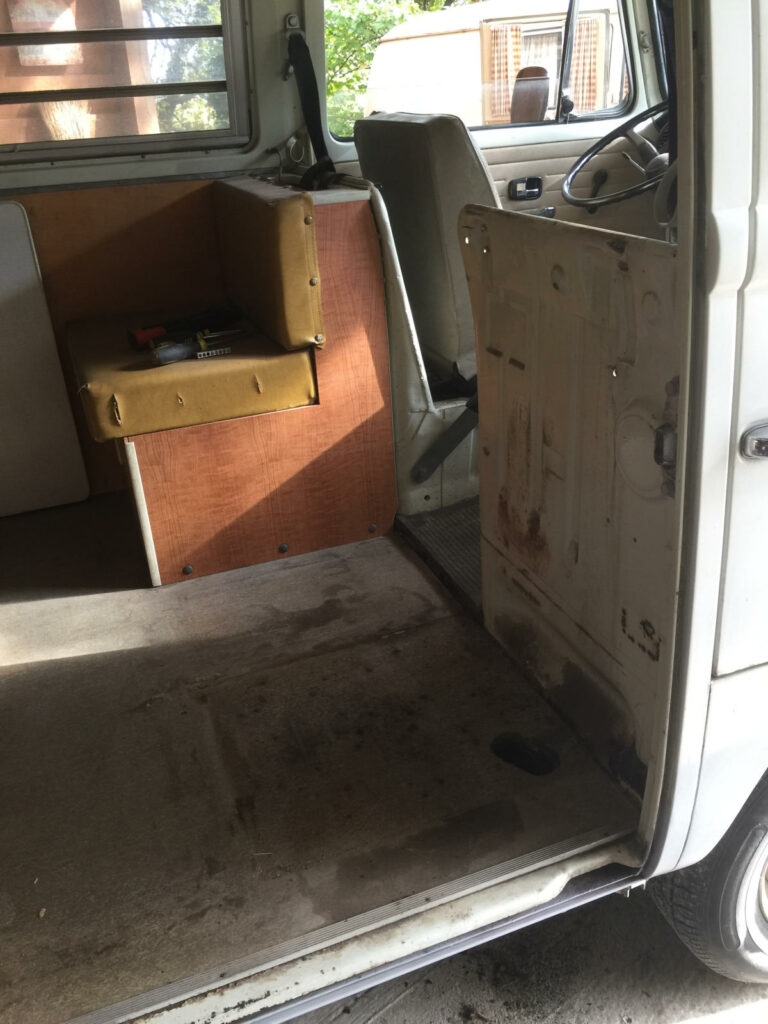
2 – Dismantling a buddy seat
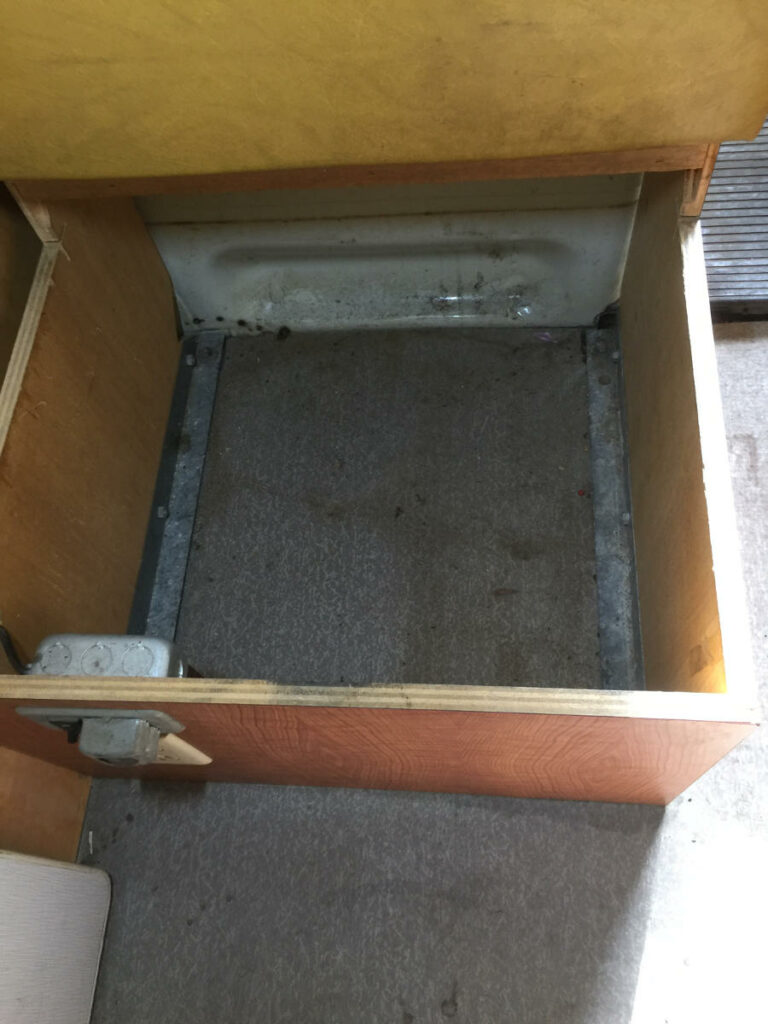
The seat of the courtesy seat is simply placed on the structure. It hides a large storage box.

4 screws are screwed into 4 inserts fixed to the floor of the combi. We unscrew them using a 17 mm wrench.
But it is also necessary to disconnect the external power supply with a Phillips and flat screwdriver. Almost like at home, a phase, a neutral and 2 earths, one of which is connected to the body of the combi by a small cross-head screw.


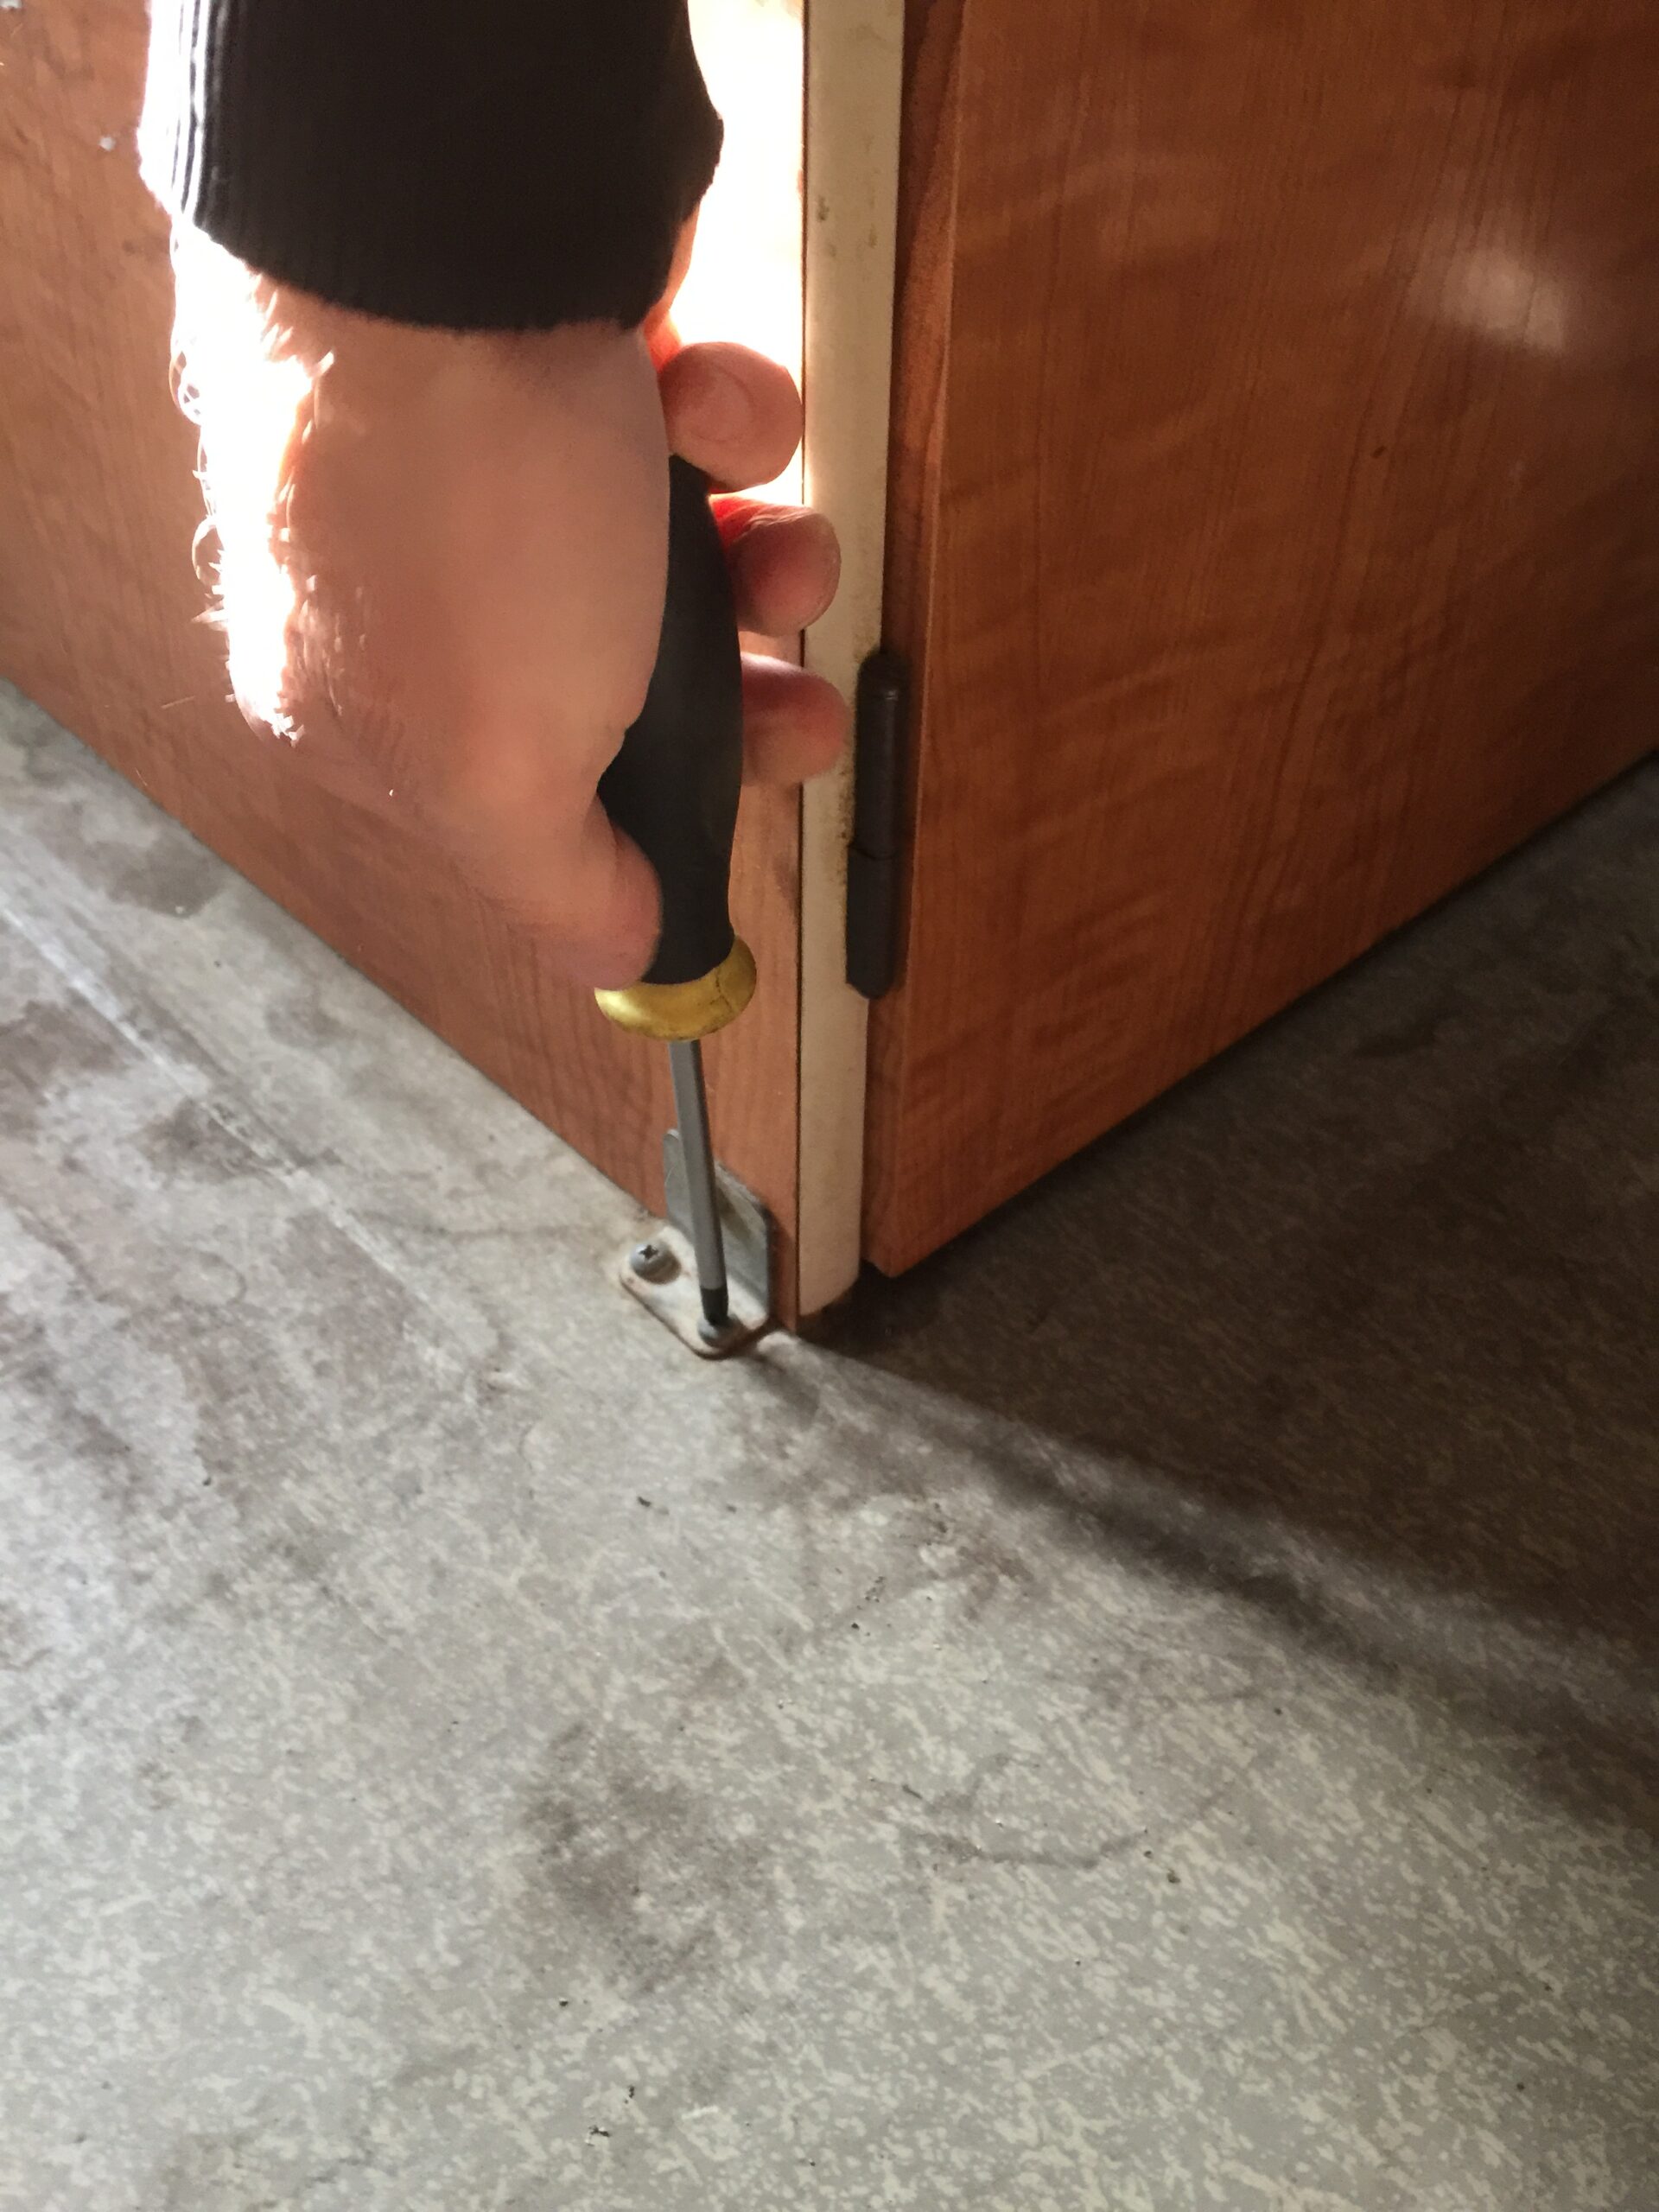
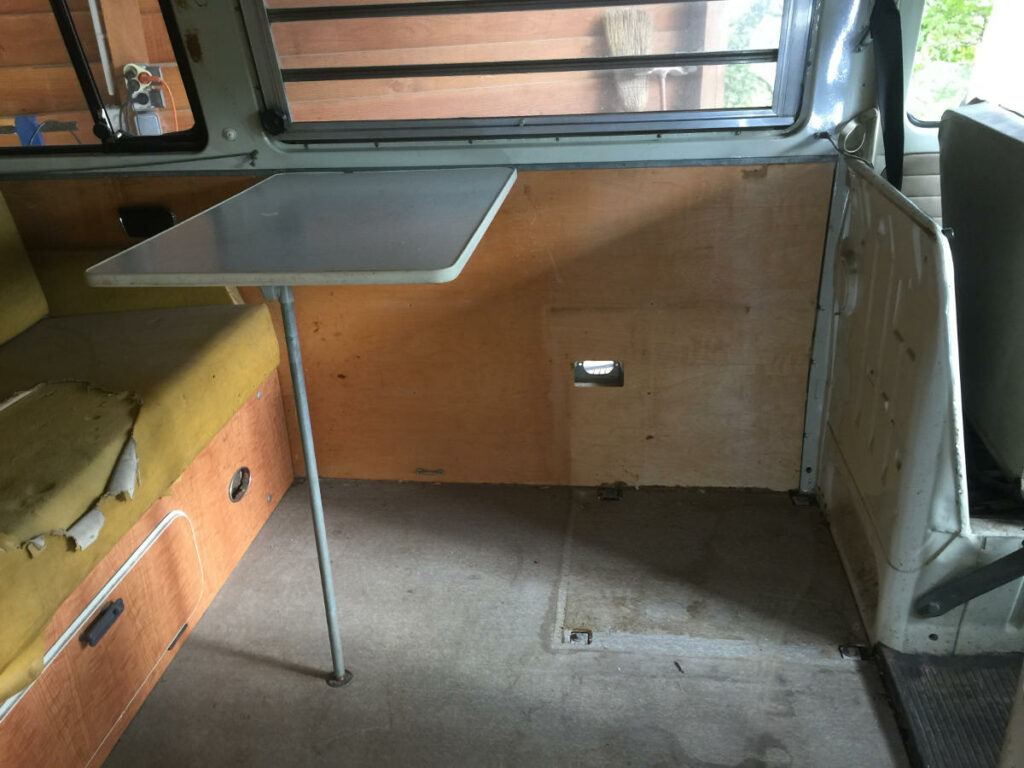
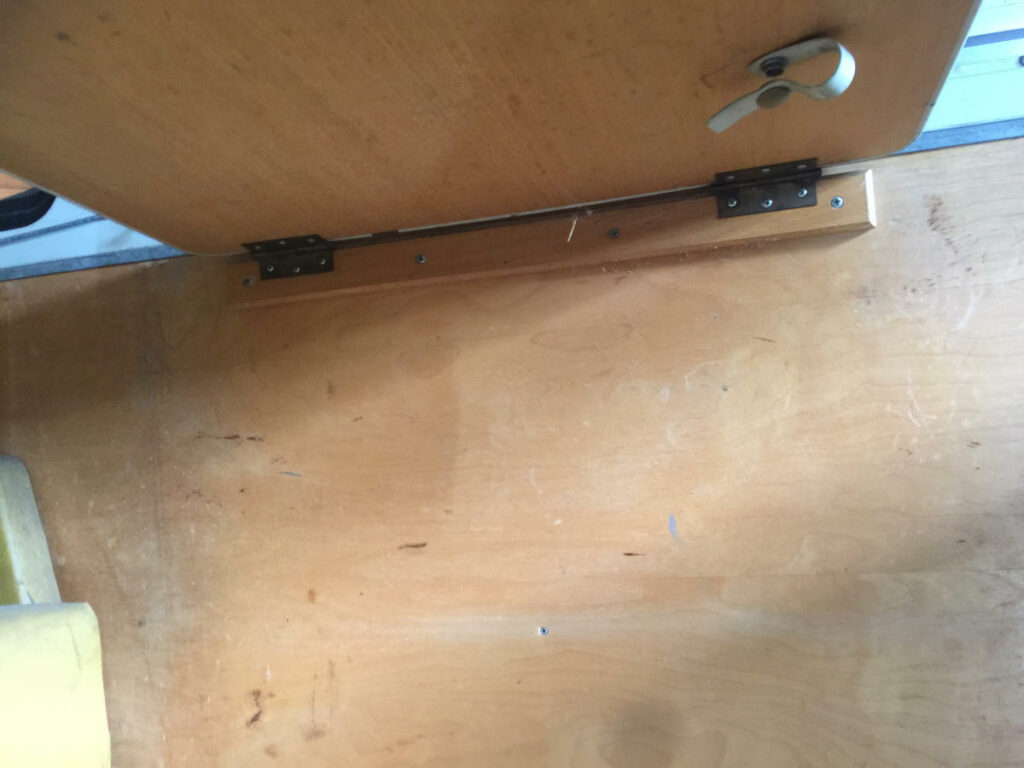
3 – Dismantle the removable table
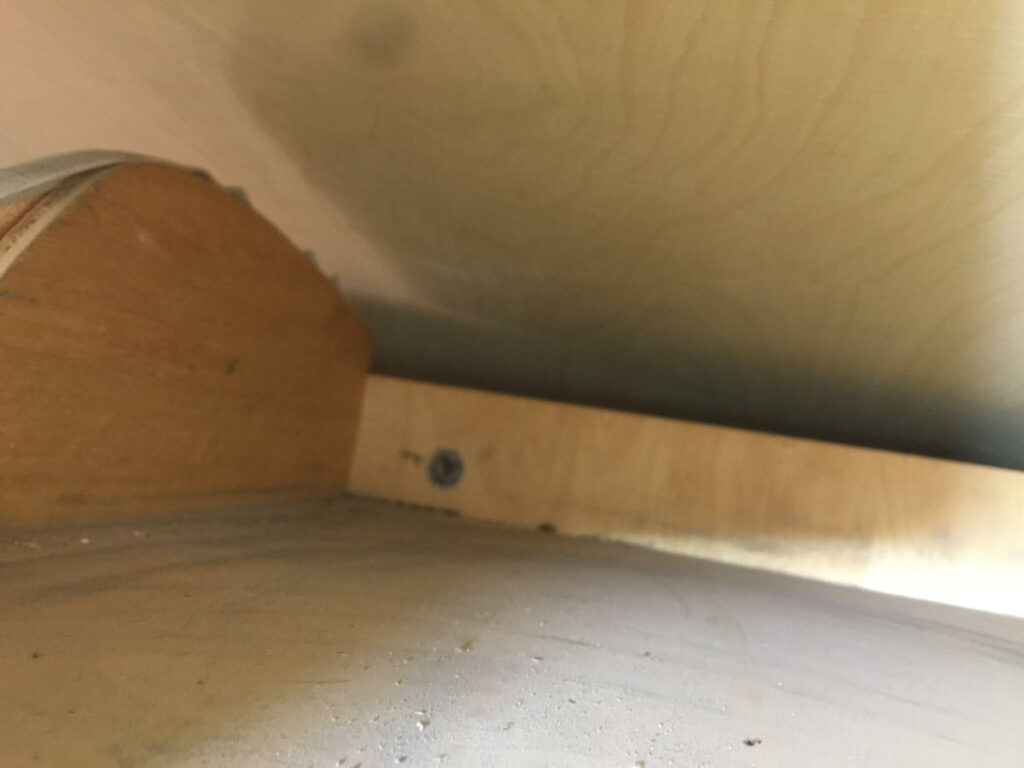
Dismantling a Westfalia layout requires patience. But for the folding table nothing could be easier. Just unscrew a few screws! Only 4 sheet metal screws cross the wooden support and are screwed into a specific sheet behind the wooden panel of the combi.
4 – Dismantle the tall unit under the skylight
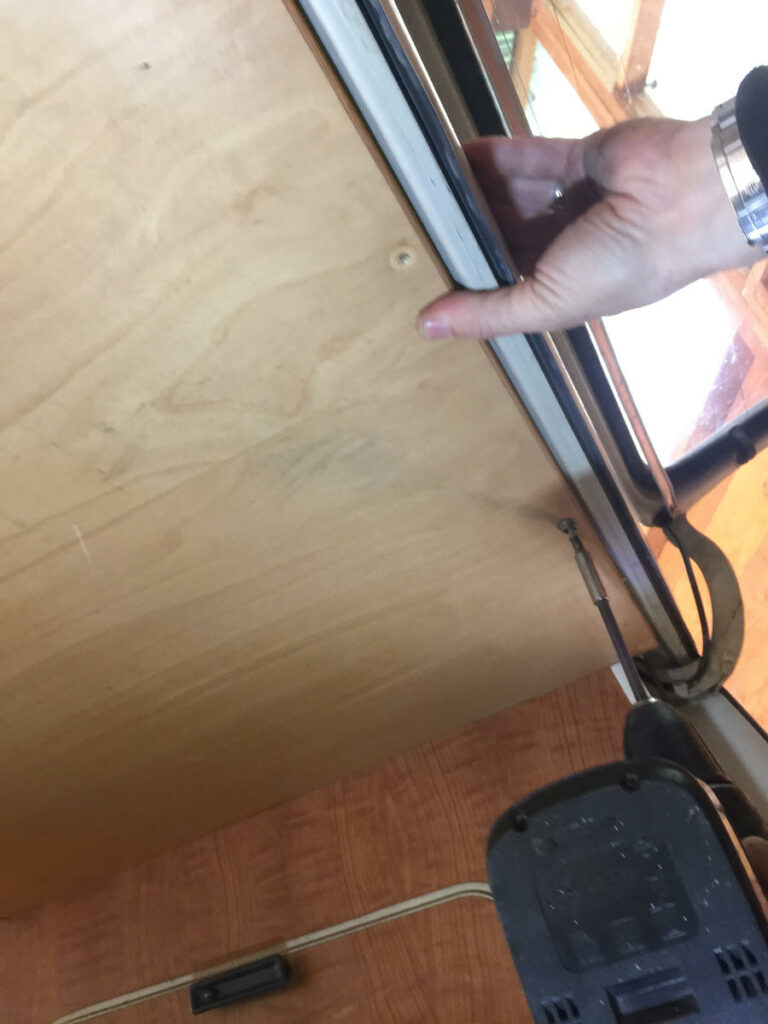
Then comes the turn of the high cabinet under the rear ceiling of the vw truck. Unscrew 2 small screws on the bracket on the left side. Then the screws along the tailgate opening. Not to mention the screw that goes through the wardrobe to screw into an insert in the Head Banger (again original).


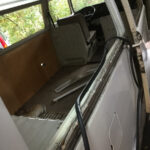
5 – Remove the sofa bed clic-clac
To disassemble the Westafalia sofa bed. We unscrewed all the screws that connect the seat and the backrest to the right and left mechanisms. But this is not enough ! it seems that the vinyl is stuck on the mechanisms. Anyway, we’re going to change all the covers, so we ripped everything off.


To finish this camping car bed, all that remains is to unscrew screws, nuts and the whole trunk which acts as a structure for the sofa bed of the truck.
2 cruciform screws on the top of each mechanism, then 2 wrench size 10 nuts at the wheel arch. Then a nut of 17 and 2 screws of 13 on the bottom of the trunk.


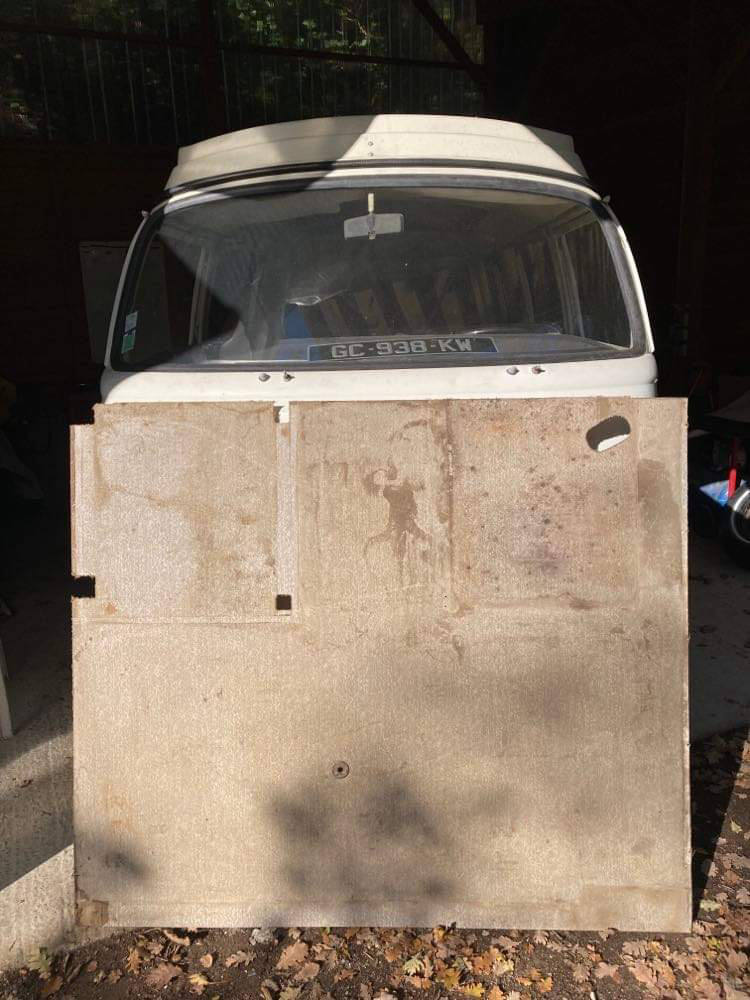
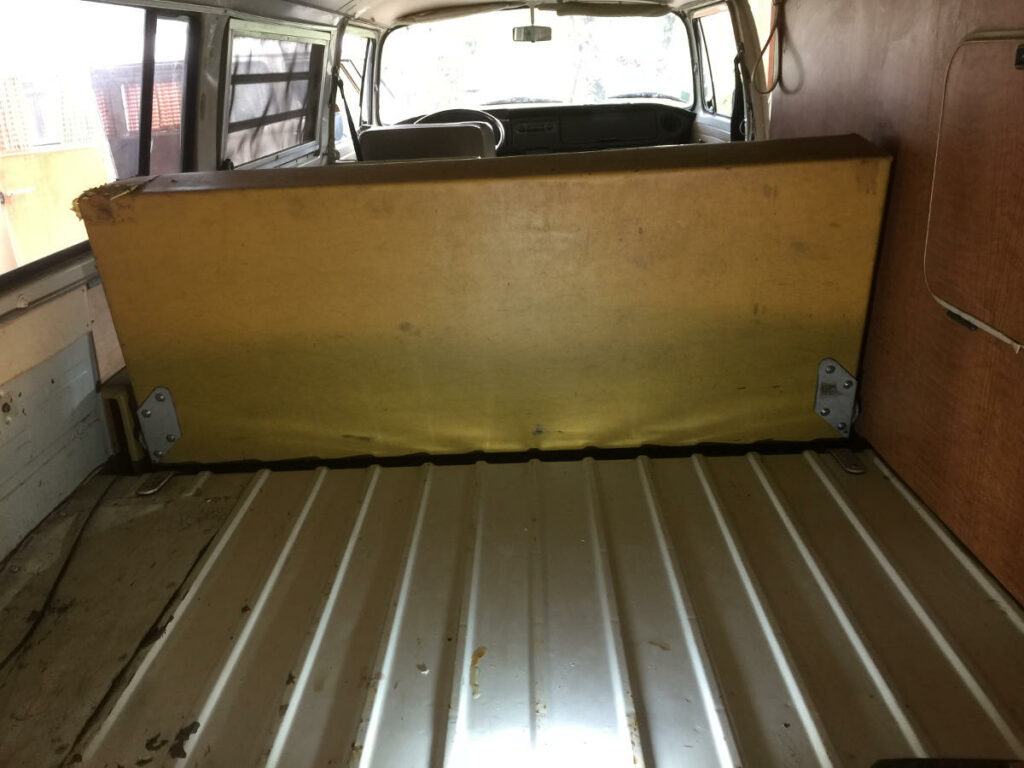
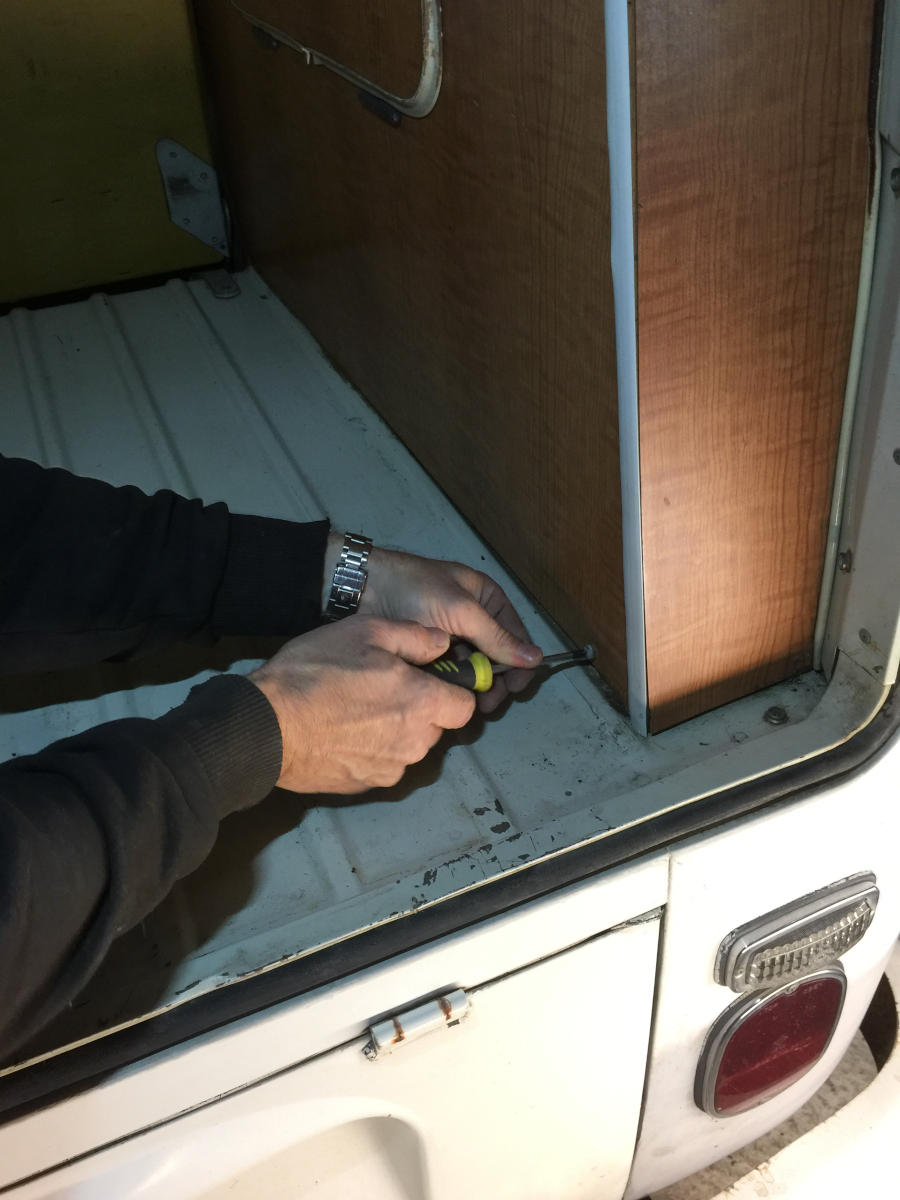
6 – Dismantle the Westfalia wardrobe
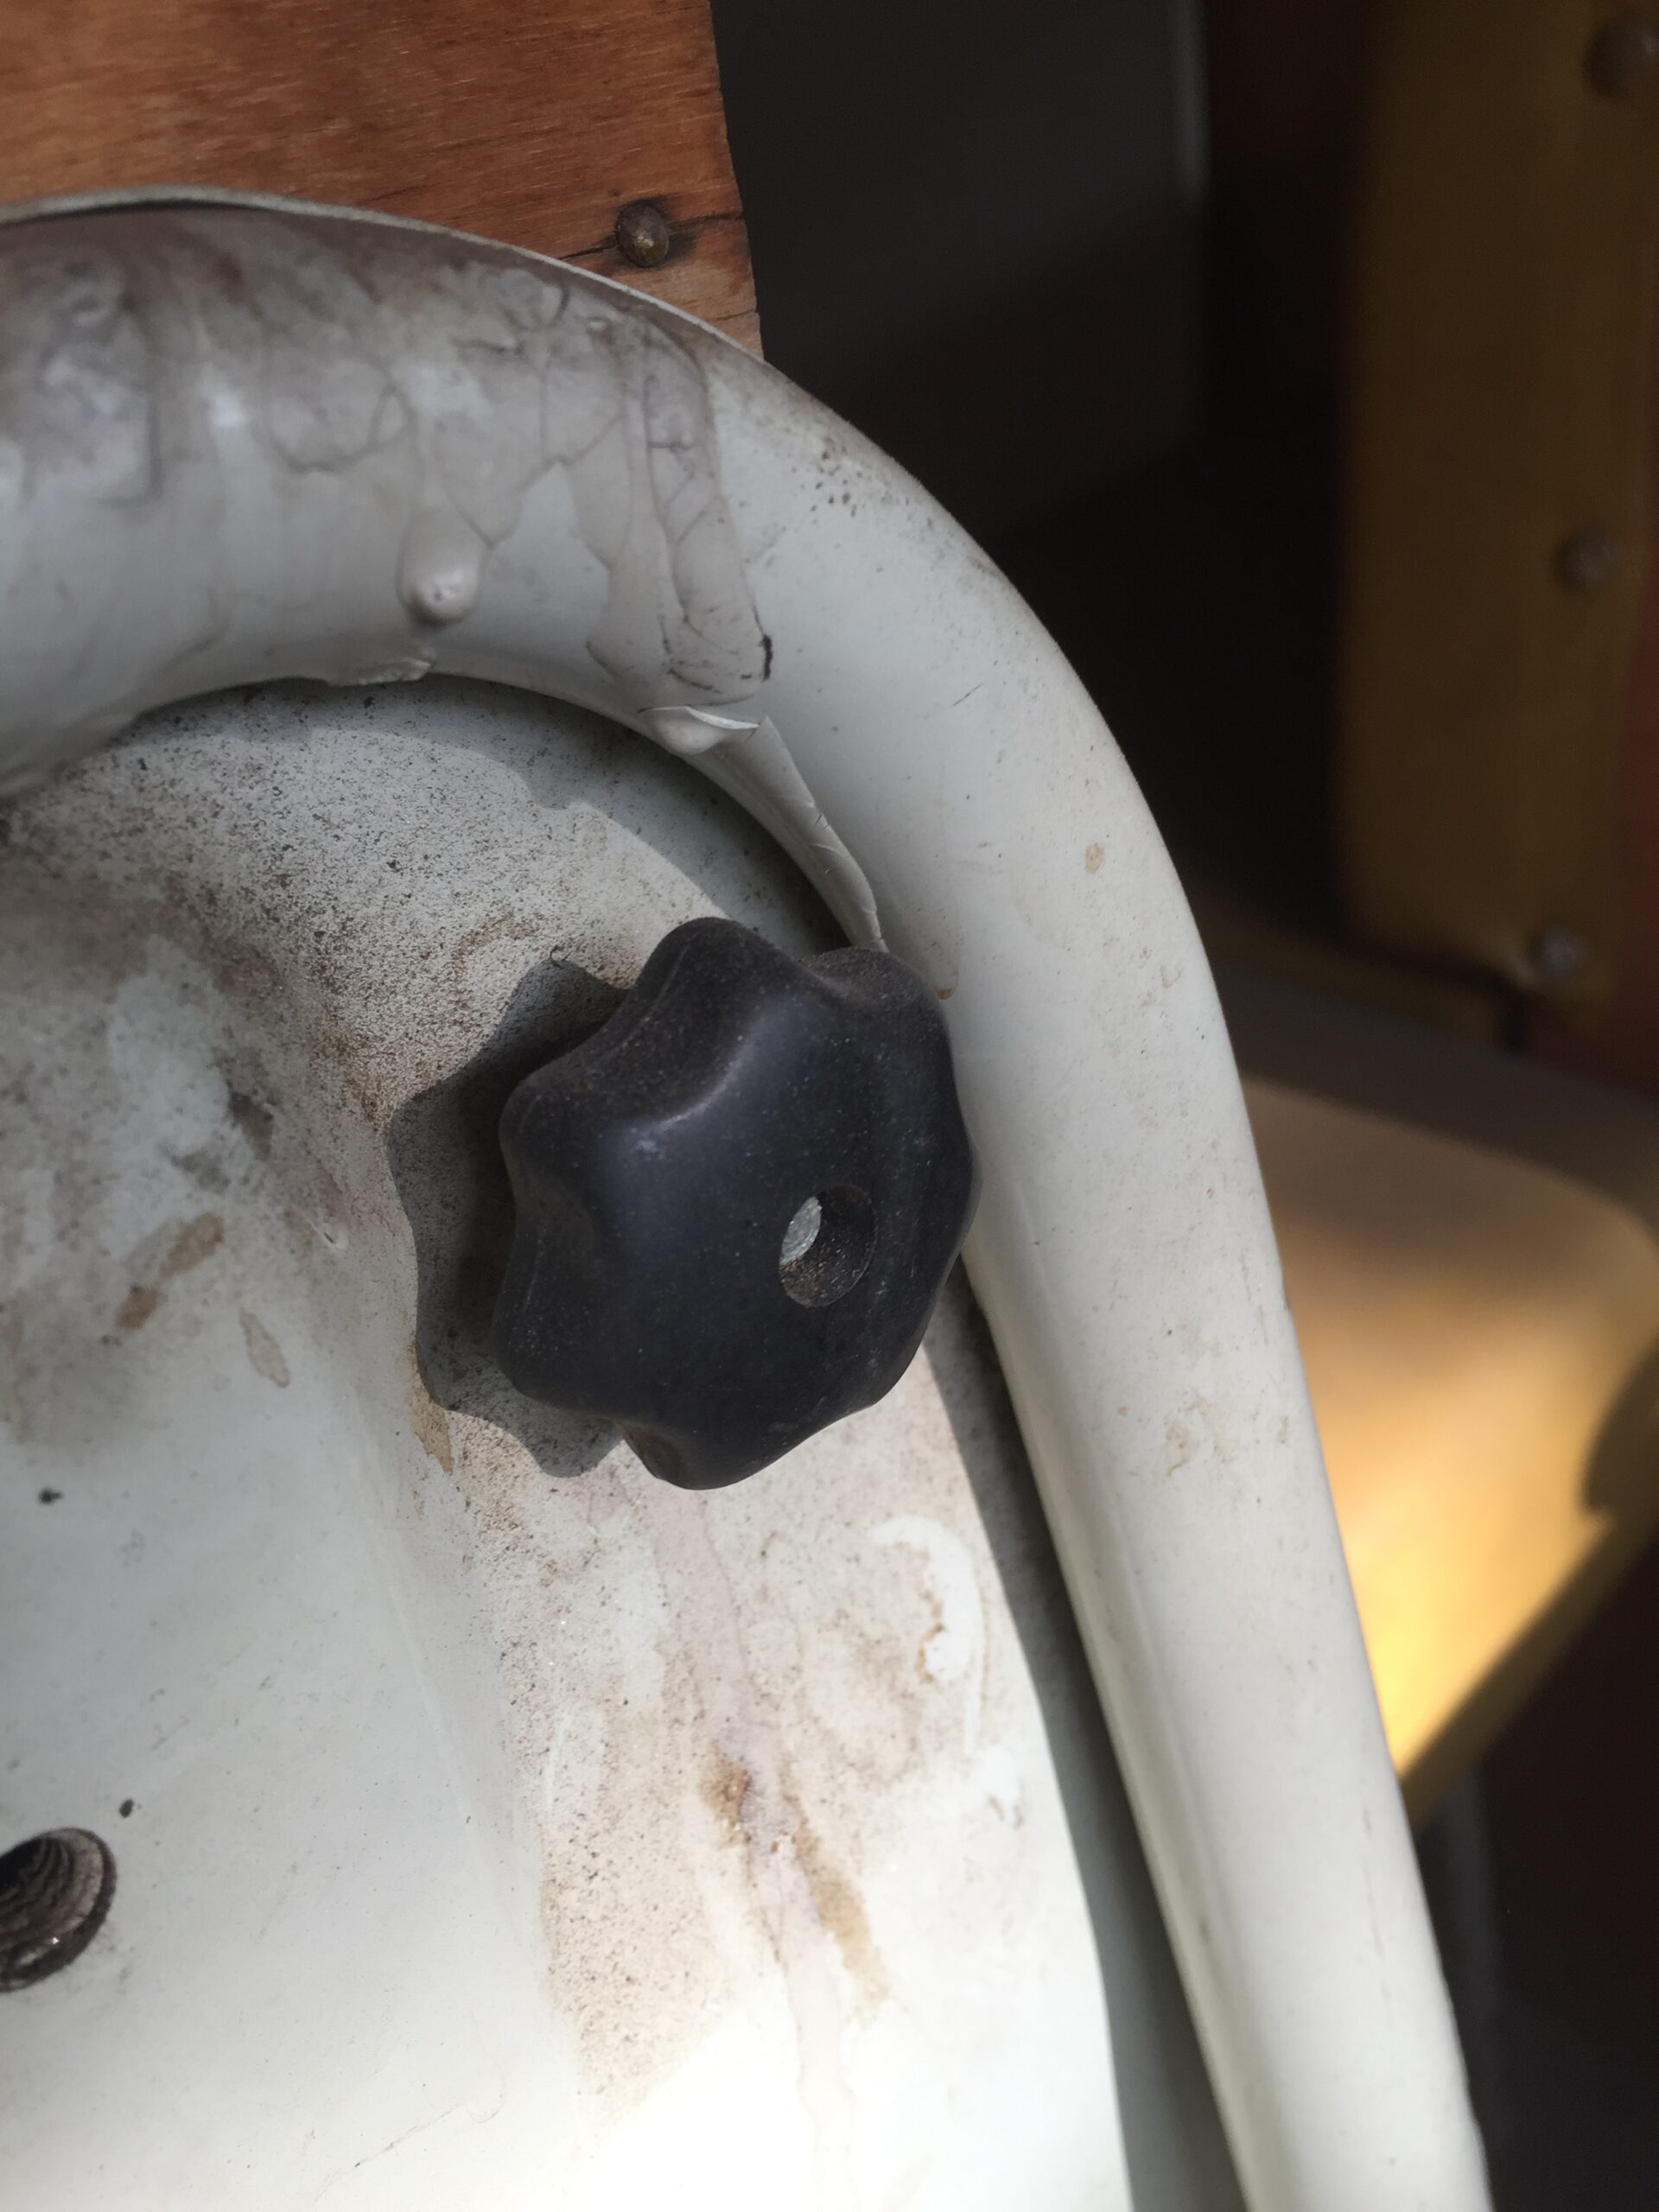
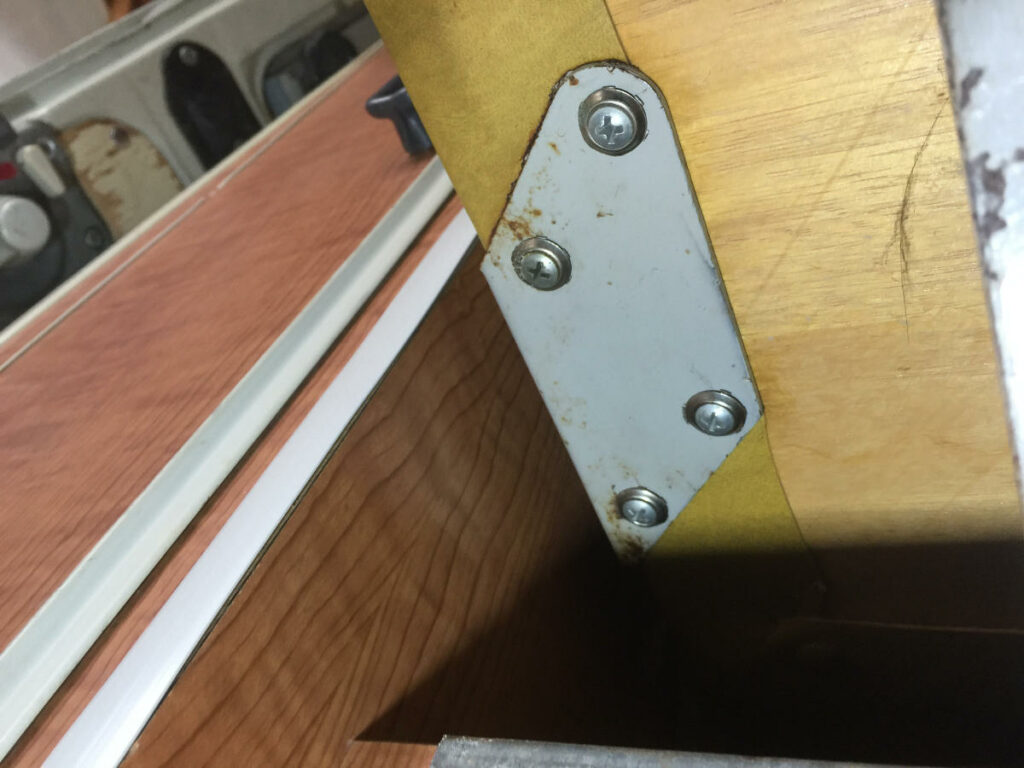
We thus arrive at the wardrobe that occupies the entire right side of the Volkswagen van. The wardrobe is hung in 3 places by a hook system that grips the sliding door and tailgate jamb. The hook on the tailgate side is fitted with an original plastic nut, to be unscrewed by hand from inside the cupboard (see photo in the gallery at the end of the article). There remains a single cruciform screw at the rear at the level of the engine compartment to be unscrewed.

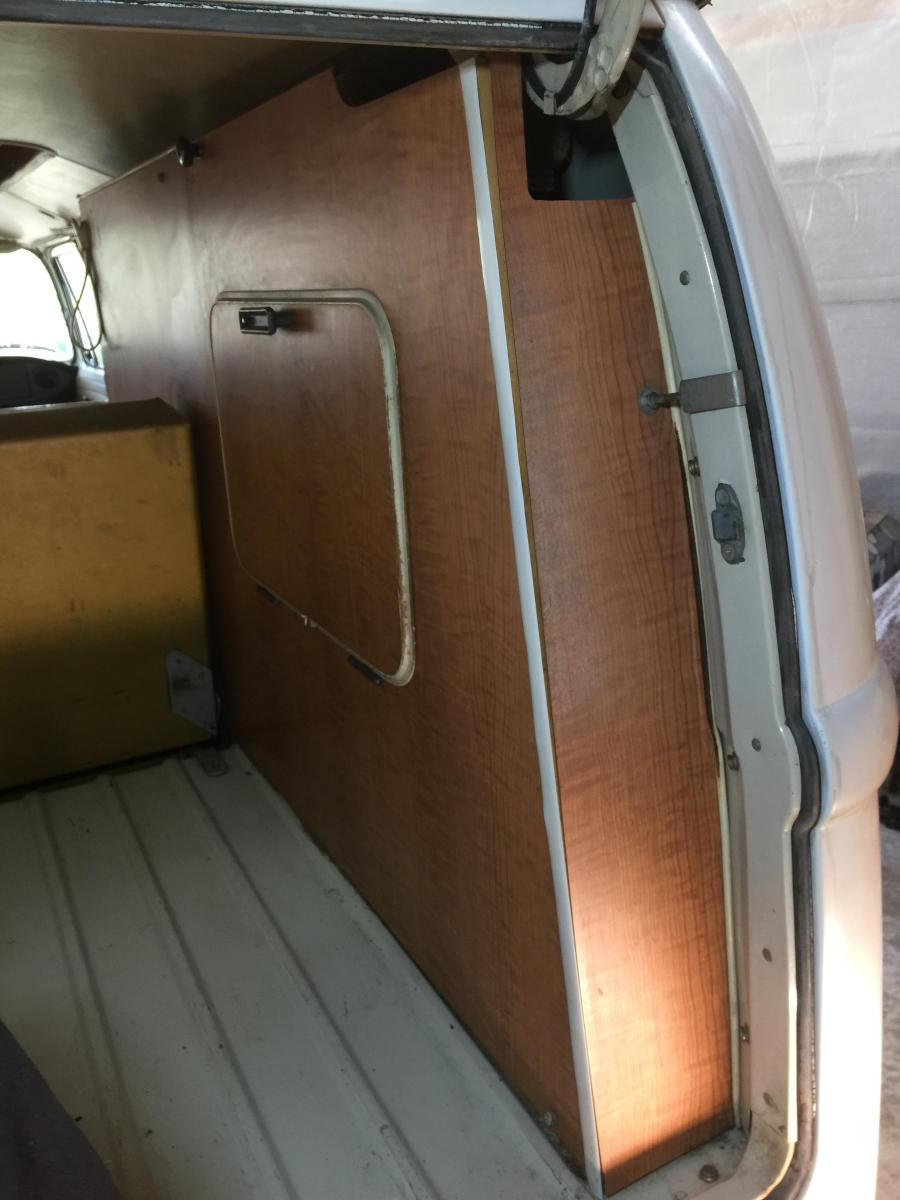

7 – Dismantle the wooden plank curtain support
Remember, we wanted access to the right rear window to remove it without risk. Well it is now. All that remains is to unscrew the board that holds the curtain of this window. and dismantling a Westfalia layout remains easy!

8 – Dismantling a Westfalia layout: the floor
The floor is held simply by the sliding door sill strip. So we unscrewed the screws of the sill and removed the first board on which the linoleum is glued. Then comes a second board of the same size and 2 small wedging boards.

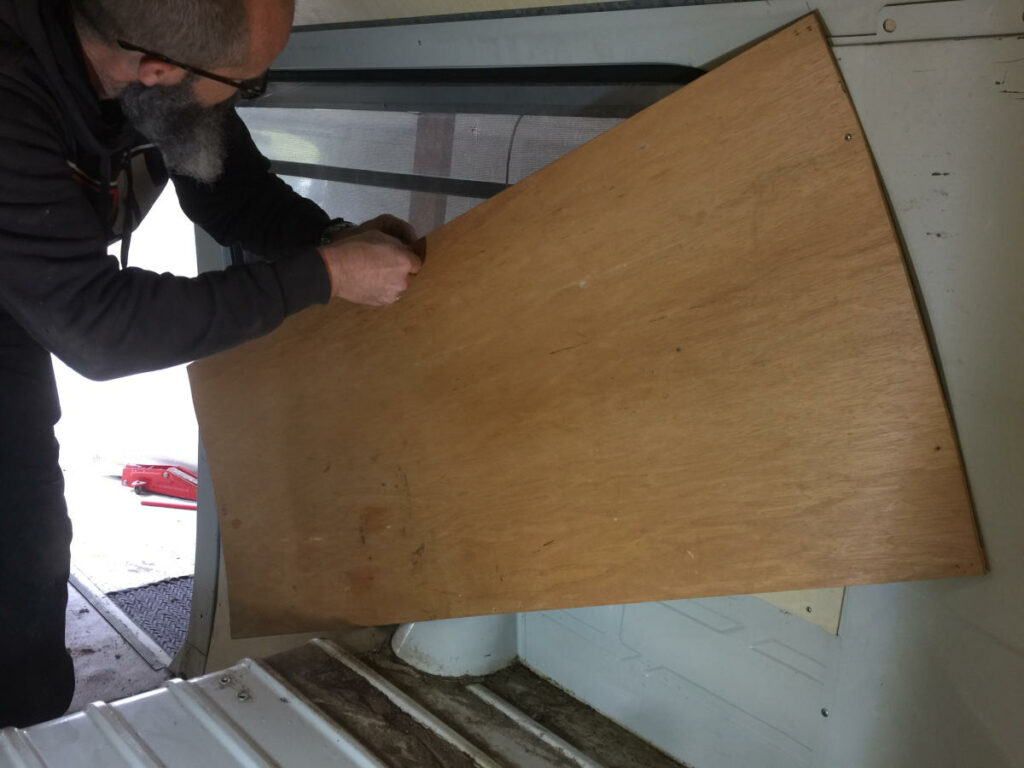
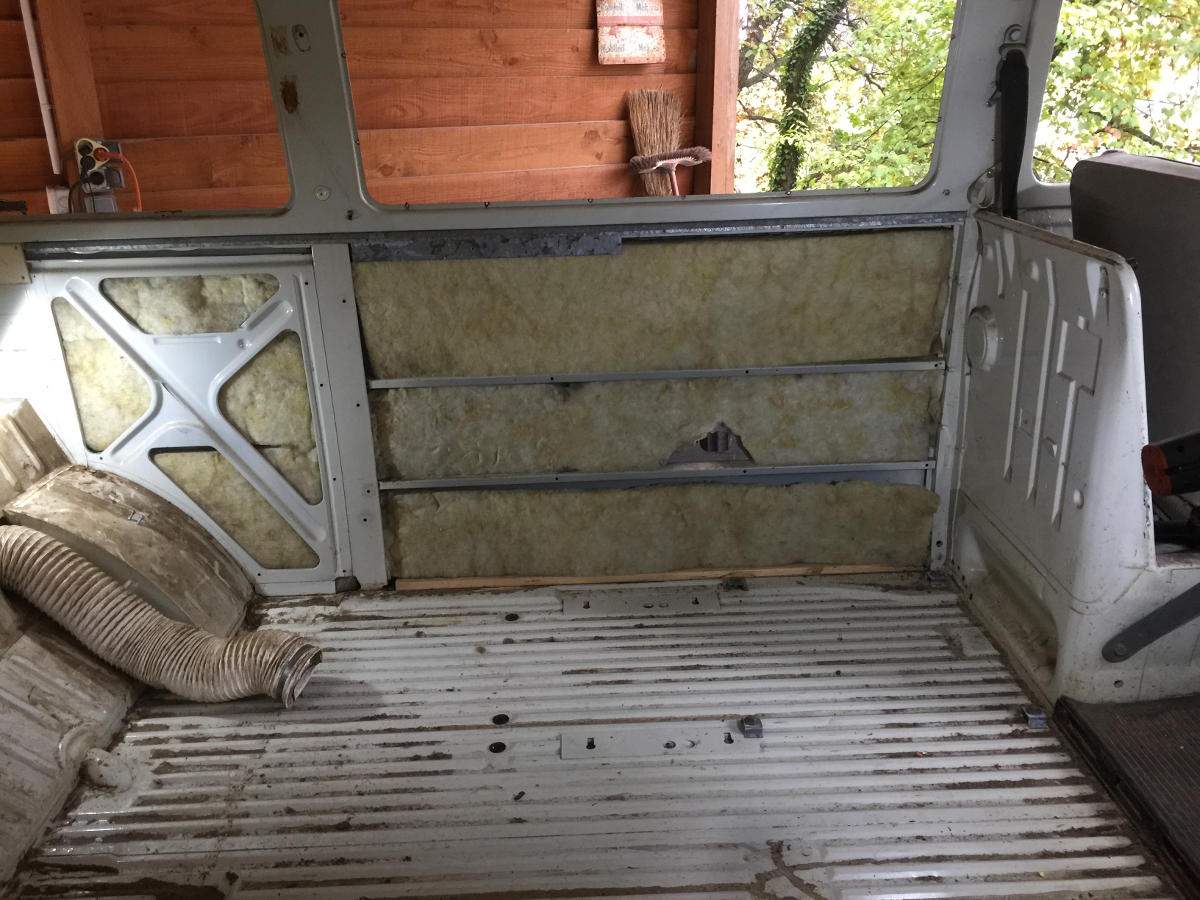
9- The central panel
The central panel is held by sheet metal screws screwed into the uprights of the combi.

Dismantling a Westfalia layout : Cleaning !