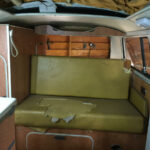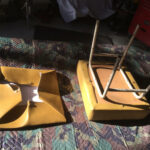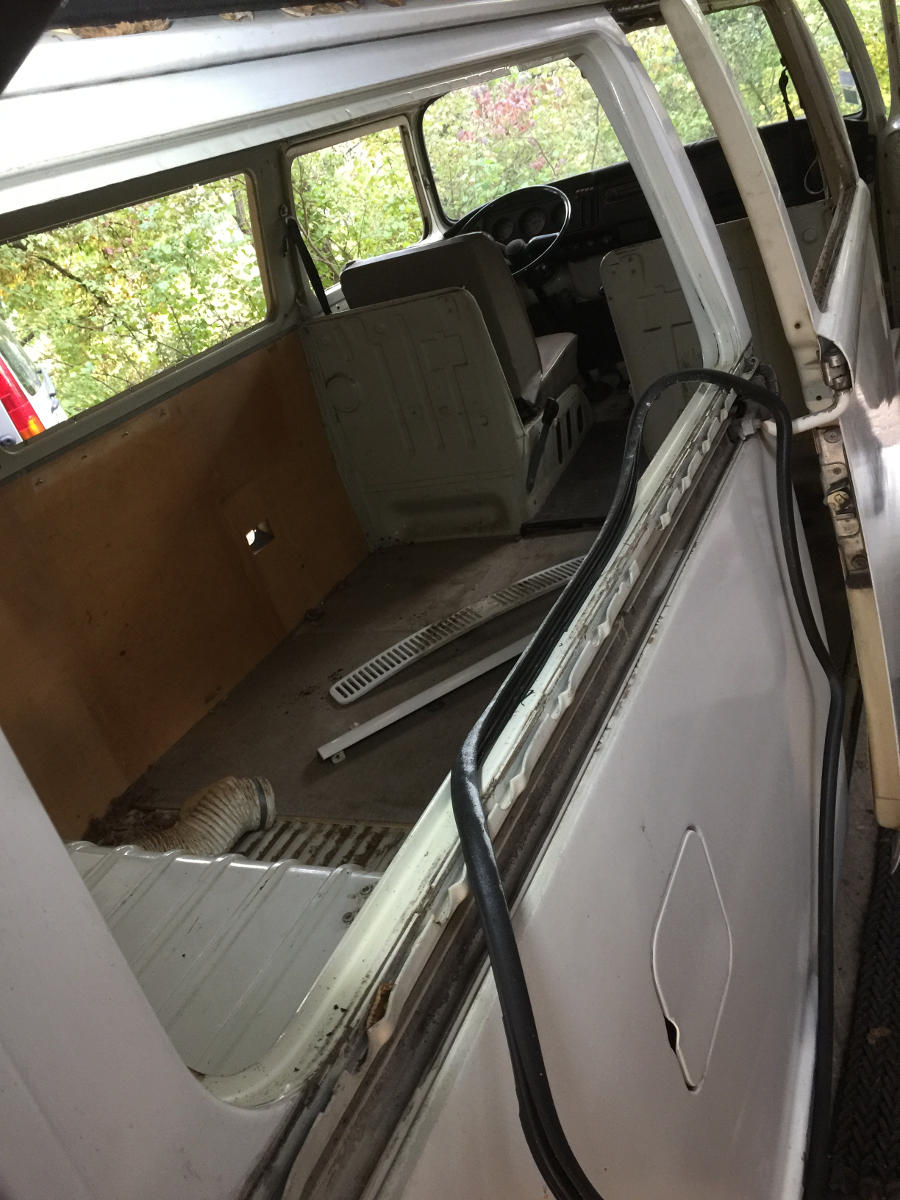
After dismantling the entire interior of the westfalia combi, we move on to the bodywork preparation. We have to take the vintage truck to the body shop for a full paint job. for this we will disassemble all the elements on the bodywork. Bus bodywork preparation
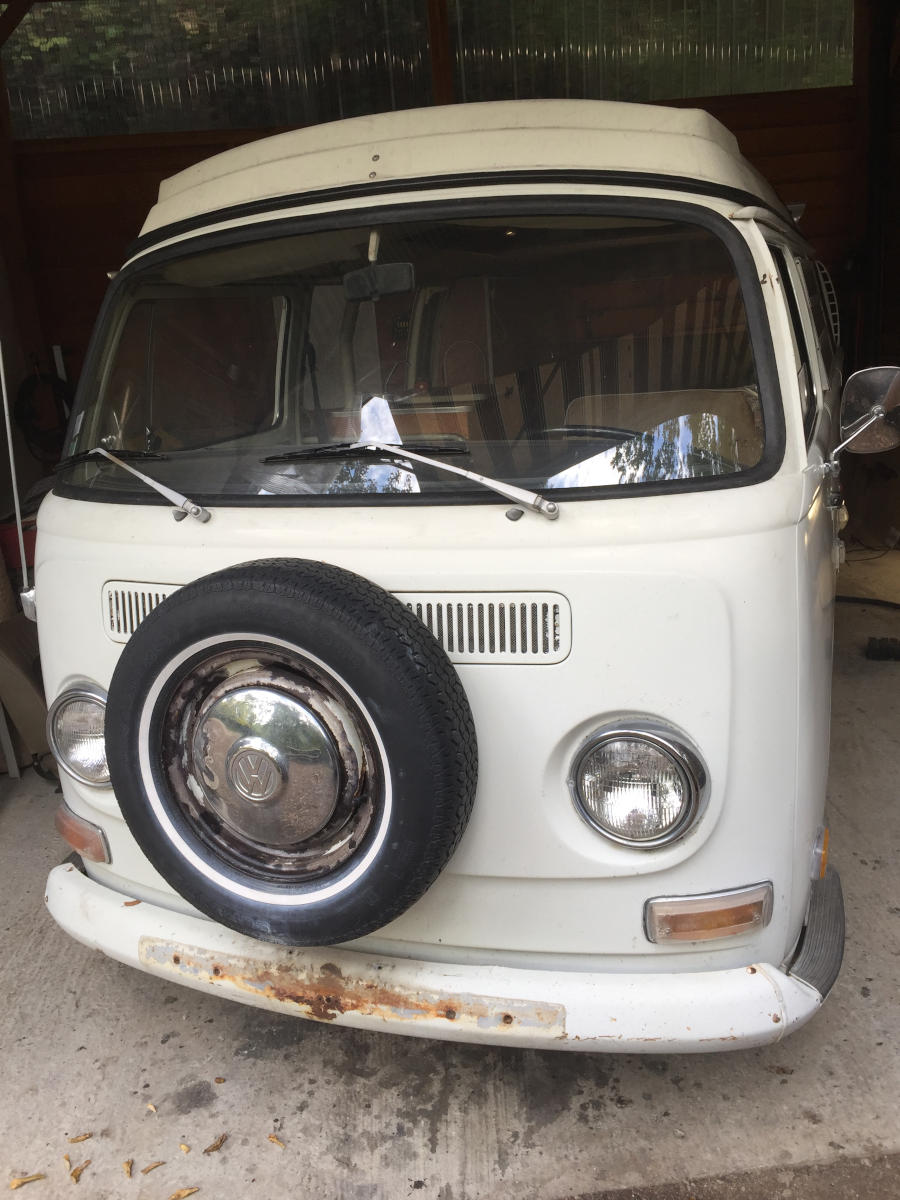
1 – Remove the spare wheel
Let’s start with the spare wheel often attached to the front of the combi by Westfalia. The spare wheel is held in place by 3 nuts. The wheel support is screwed into the front panel using inserts.
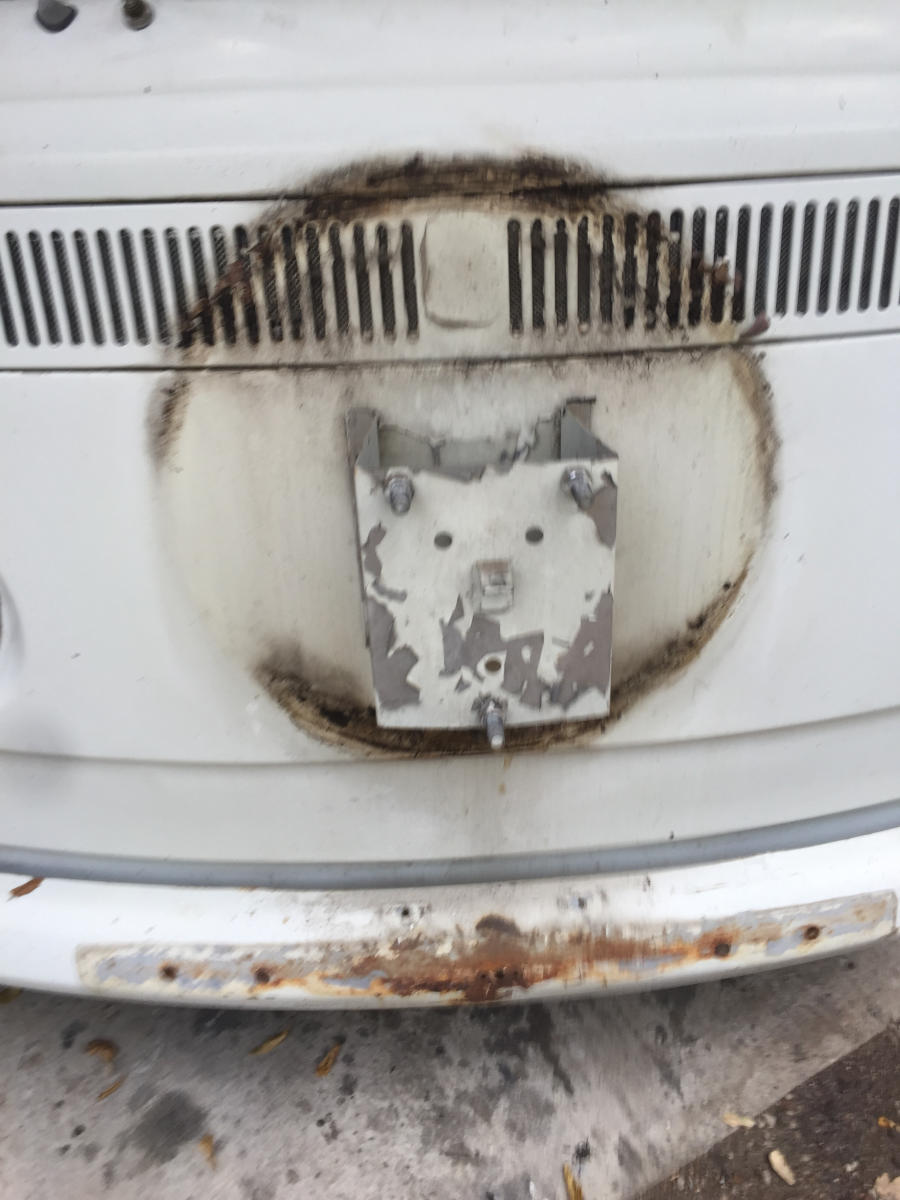
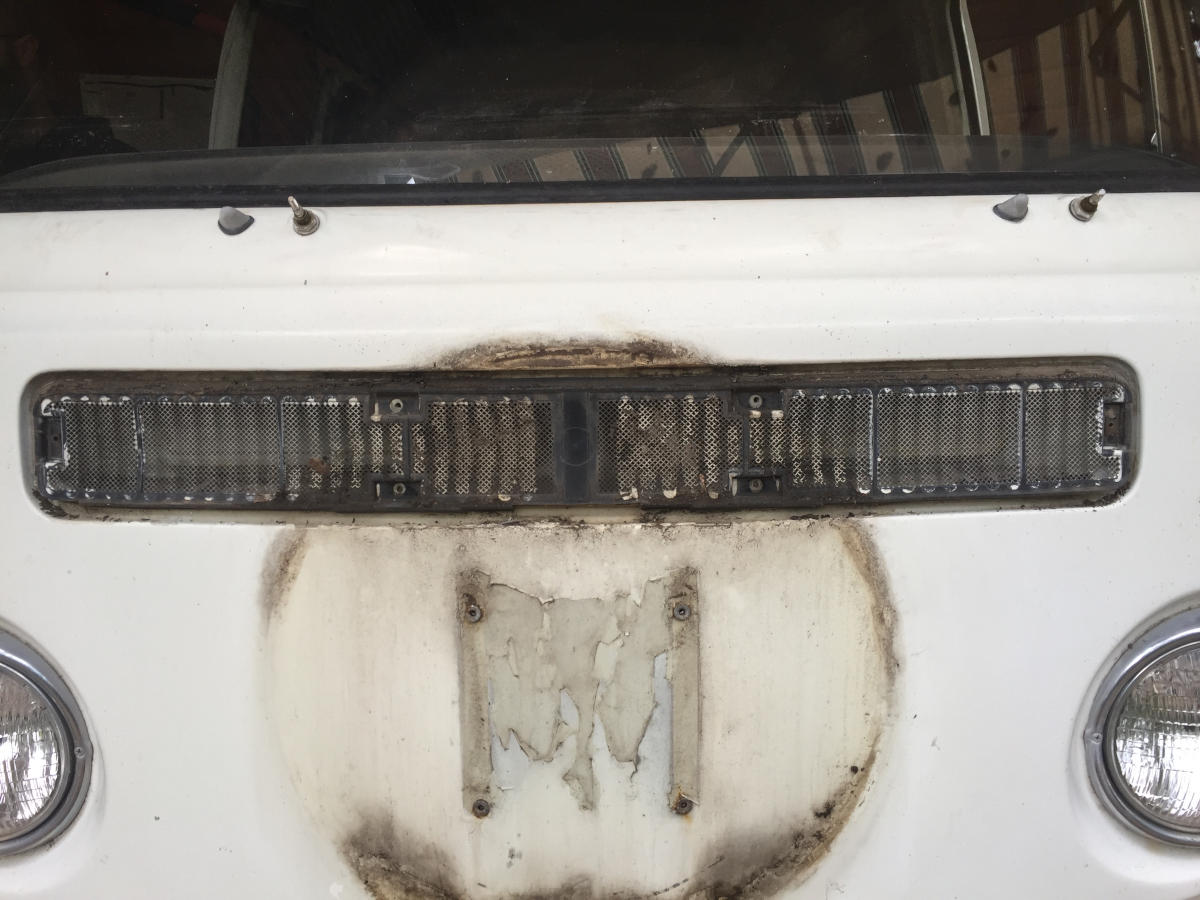
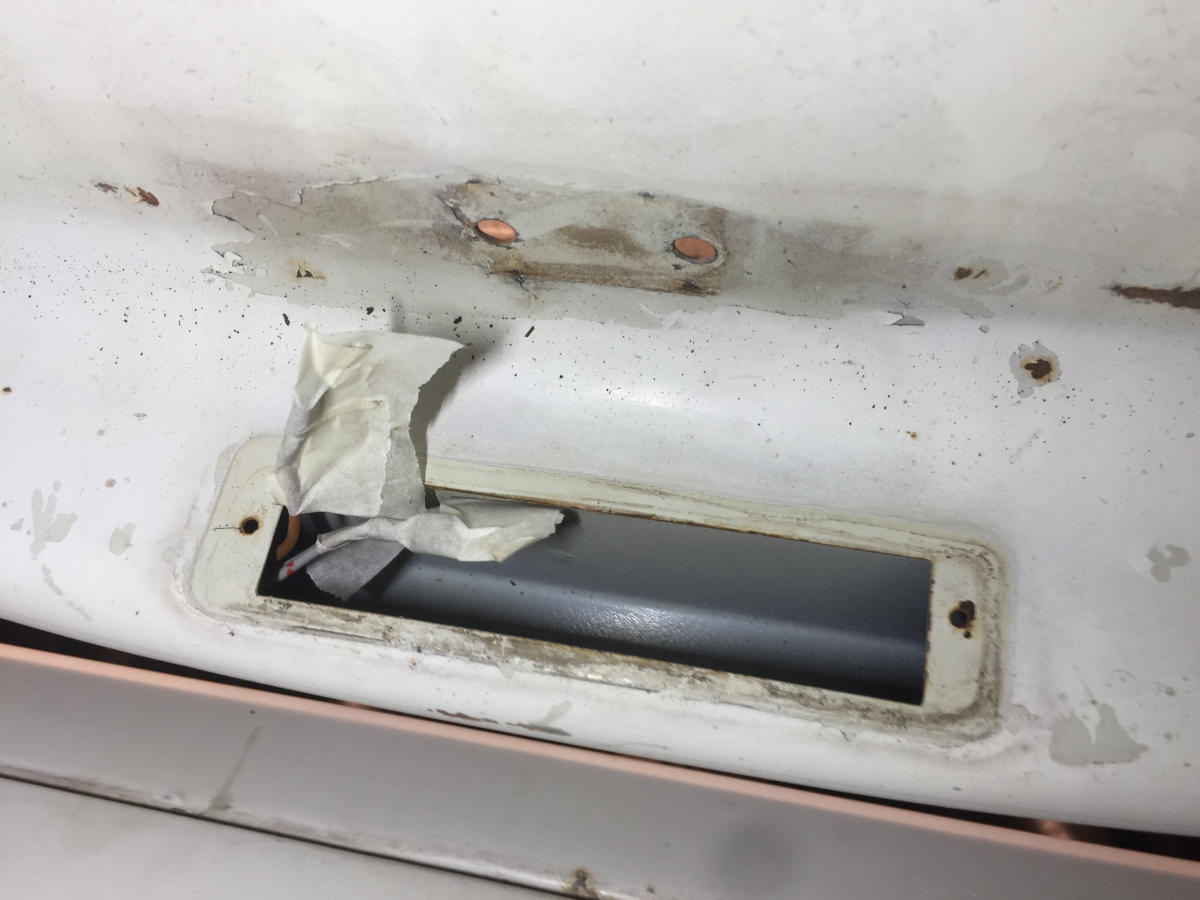
2 – Remove the air vent
The fresh air supply to the passenger compartment of the combi passes through these 2 grilles. The outer steel grille will be placed in the combi. It will be painted by the bodybuilder. It is held in place by 4 sheet metal screws.

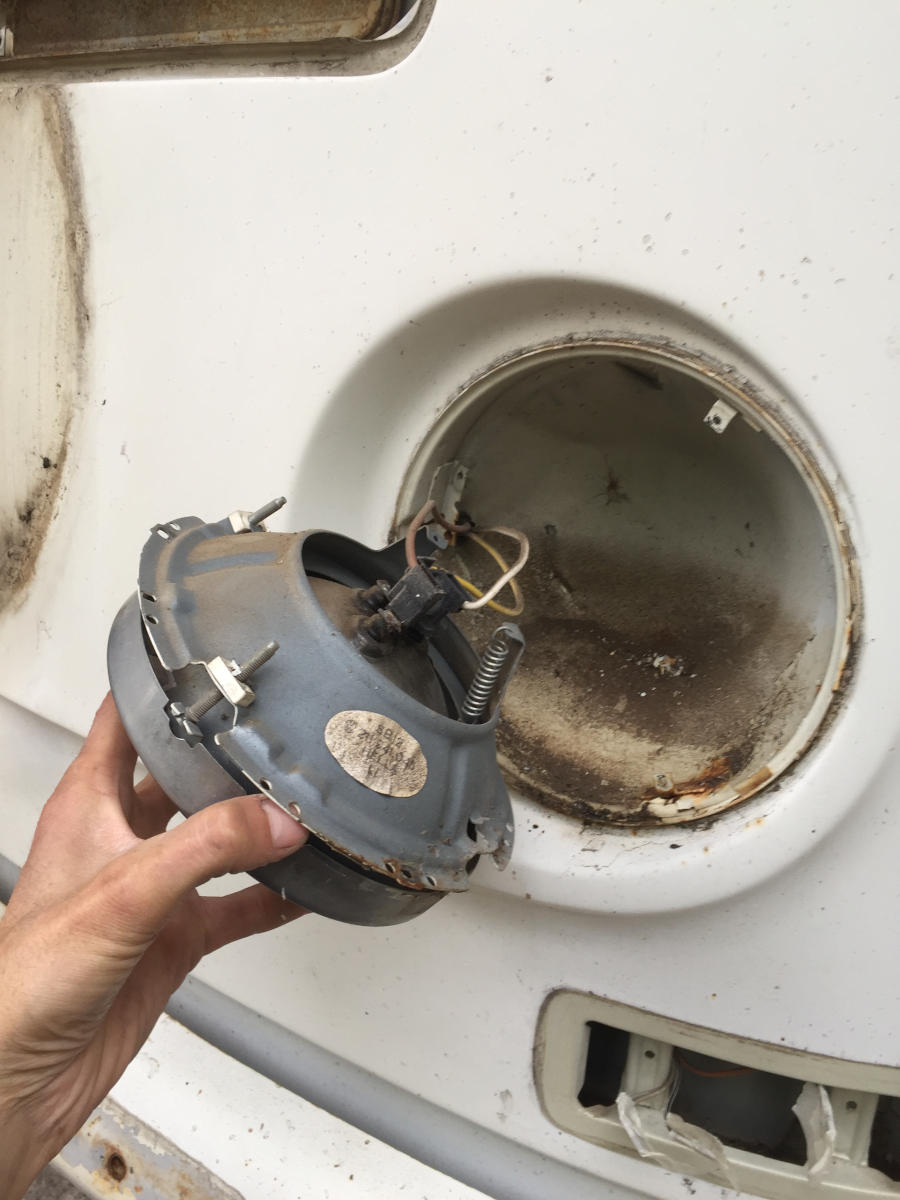
3 – Combi bodywork preparation: front lighting
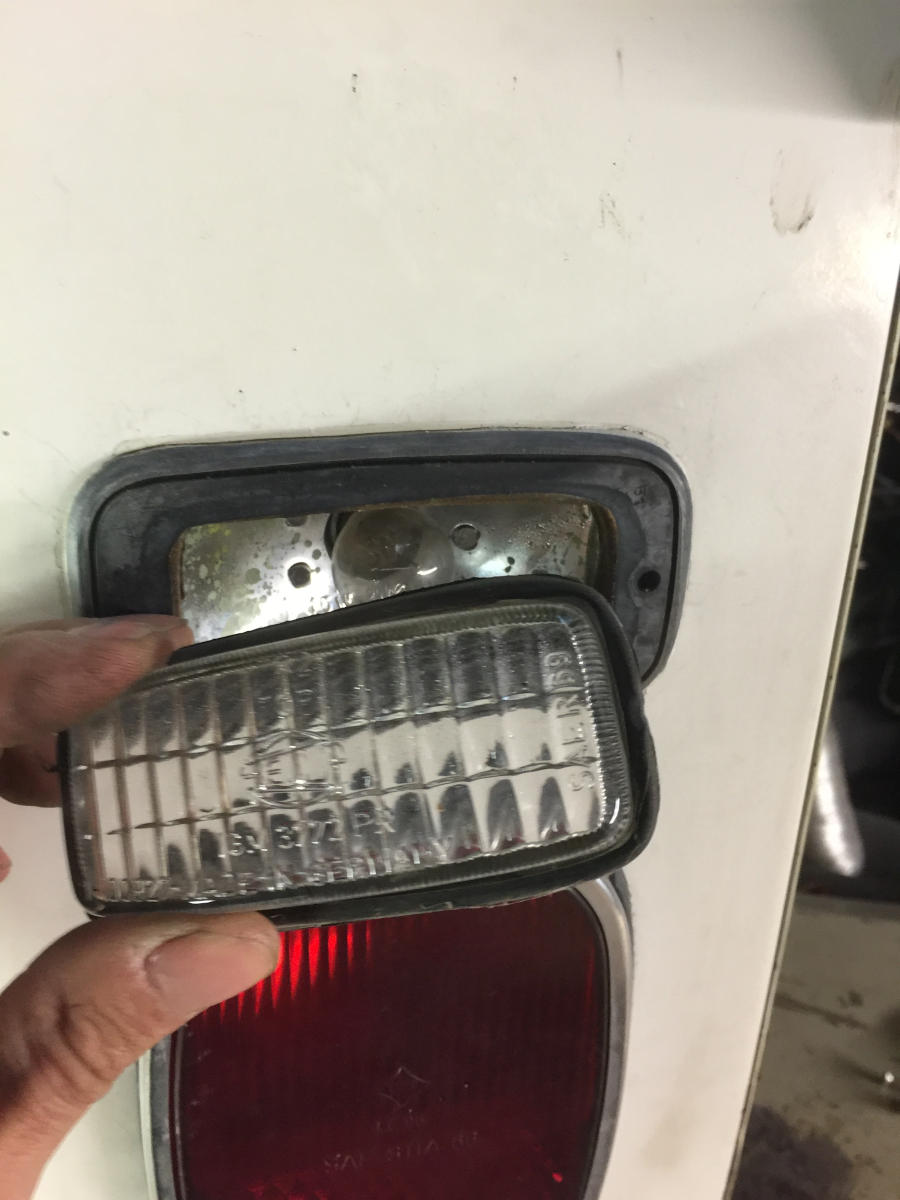
The front indicators of combi cars exported to the United States are special because they include sidelights (position lights). Armed with a Phillips screwdriver, they just have to unscrew the 2 screws of the lens and then the 2 screws of the bulb holder.


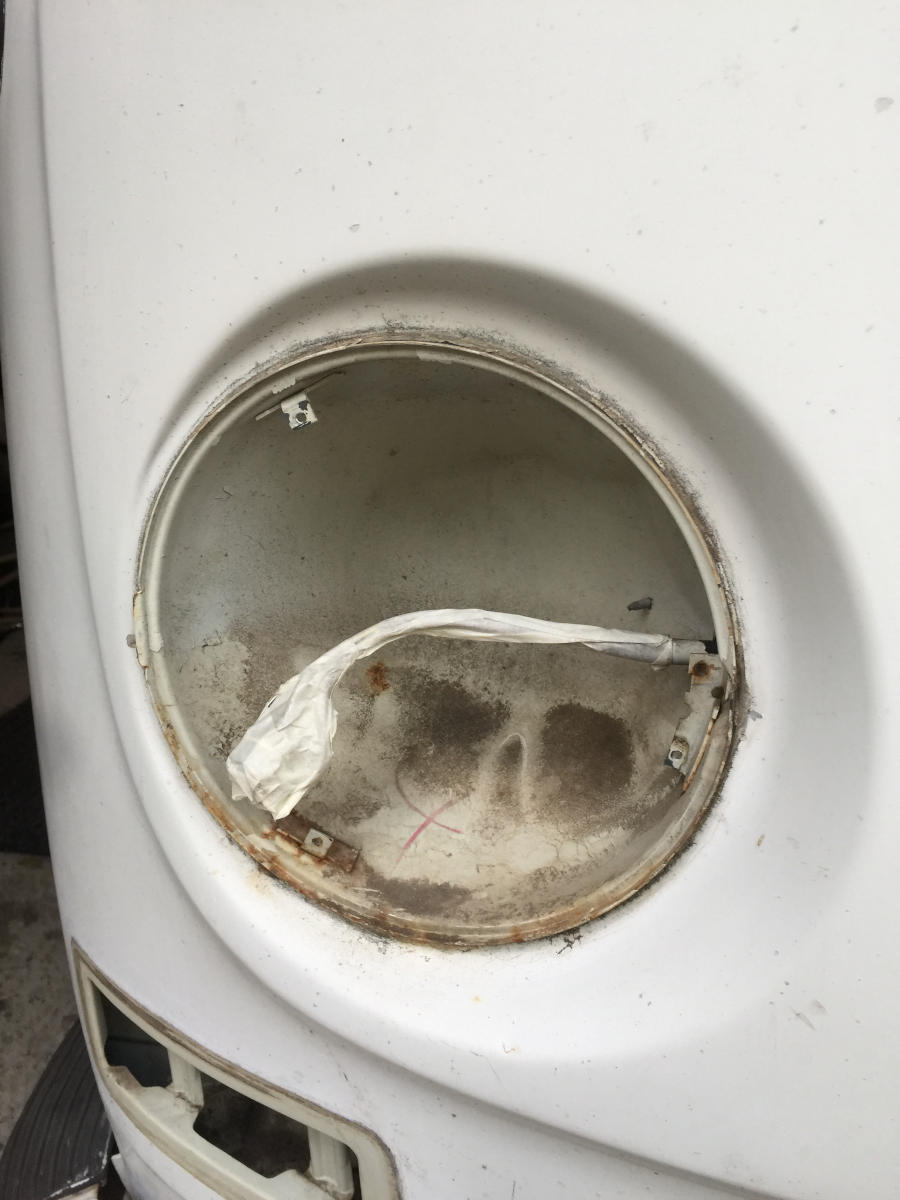
A single screw holds the chrome headlight surround. These still have their original Hella label (photo in the gallery below). Then 3 sheet metal screws hold the headlight to the body.


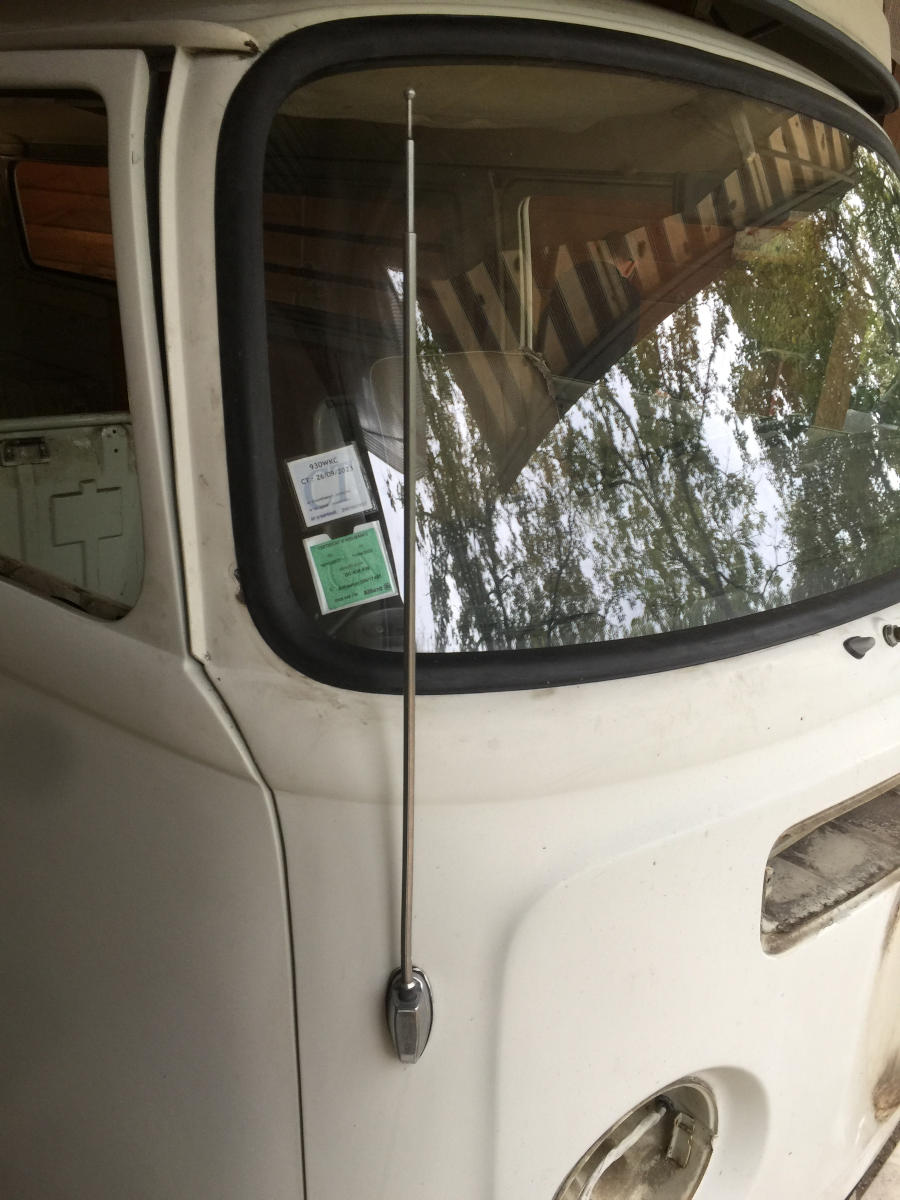
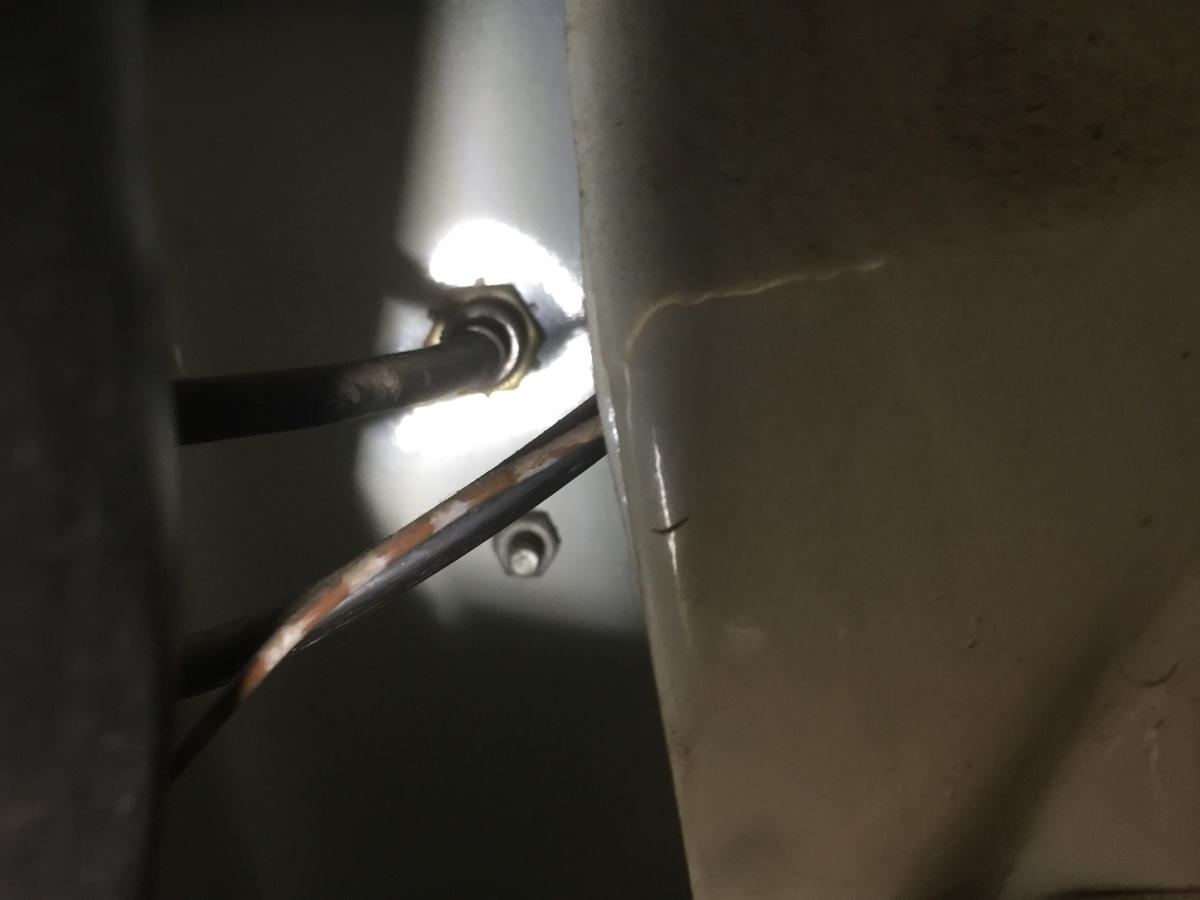
4 – The radio antenna
To better prepare the future body work, we also dismantle the radio antenna. This requires unscrewing the antenna cable from the inside as well as a large nut and very often a smaller one just below.
5 – rear lighting
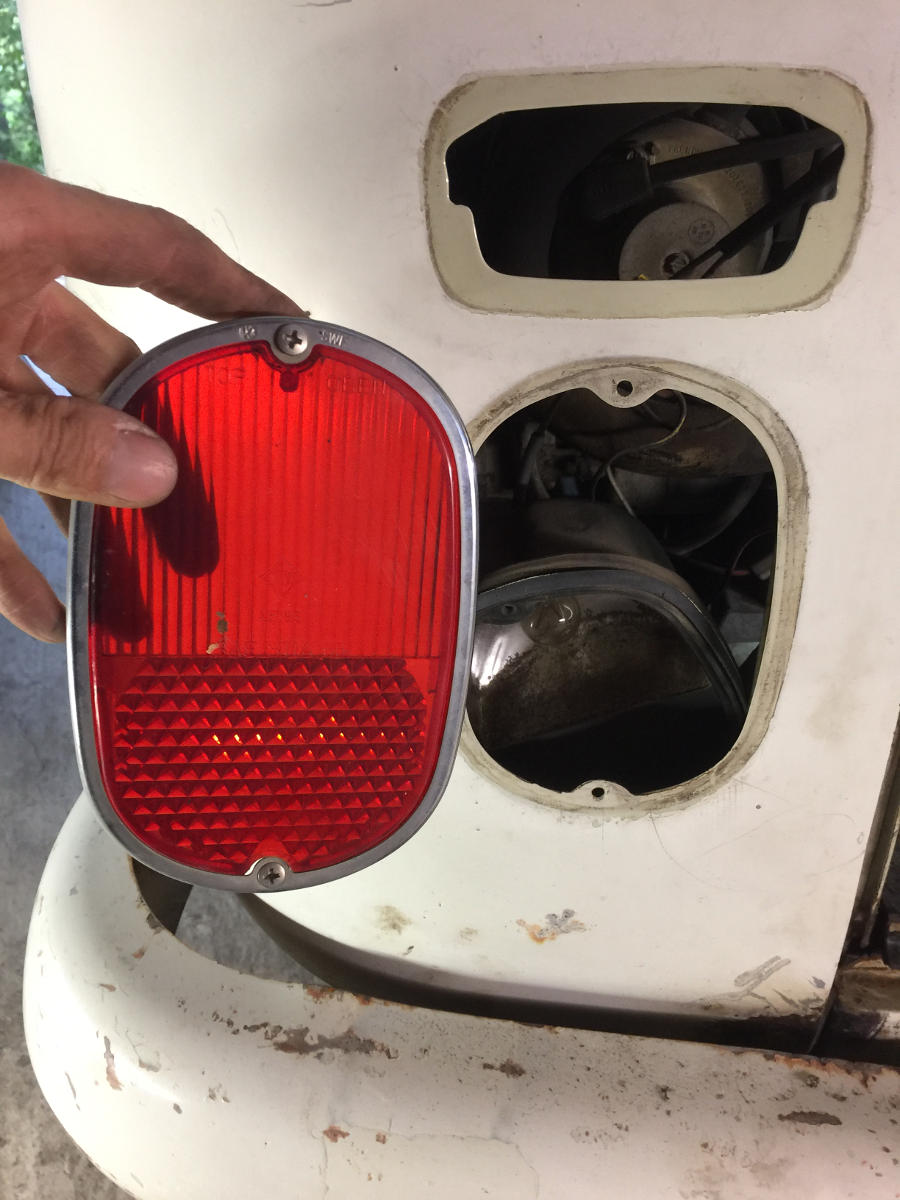
We start by dismantling the right and left reversing lights. 2 Phillips screws hold the chrome surround and the fire glass. Then simply push the seal back inside the engine compartment.


The lights, direction indicator/stop and pilot light, are held in place by 2 screws. They sandwich the bodywork between the chrome/glass surround and the bulb holder. Again just push the fire seal towards the interior of the vw combi.

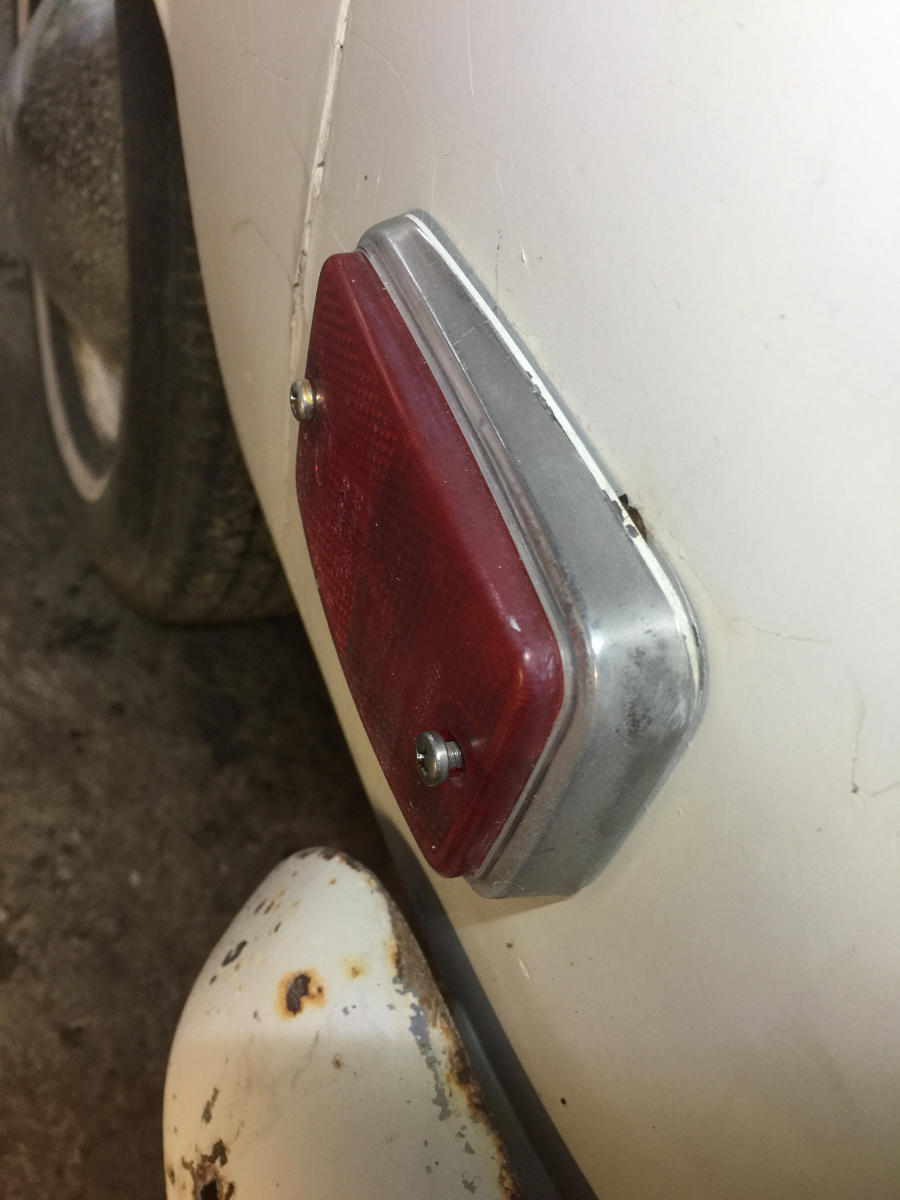
The rear marker lamps are illuminated together with the position lamps. We had to fix them with bolts to overcome the deficiency of the reproduction clearance lights. This lights is in 2 parts: the red lens held by 2 sheet metal screws. Then come our 2 bolts.
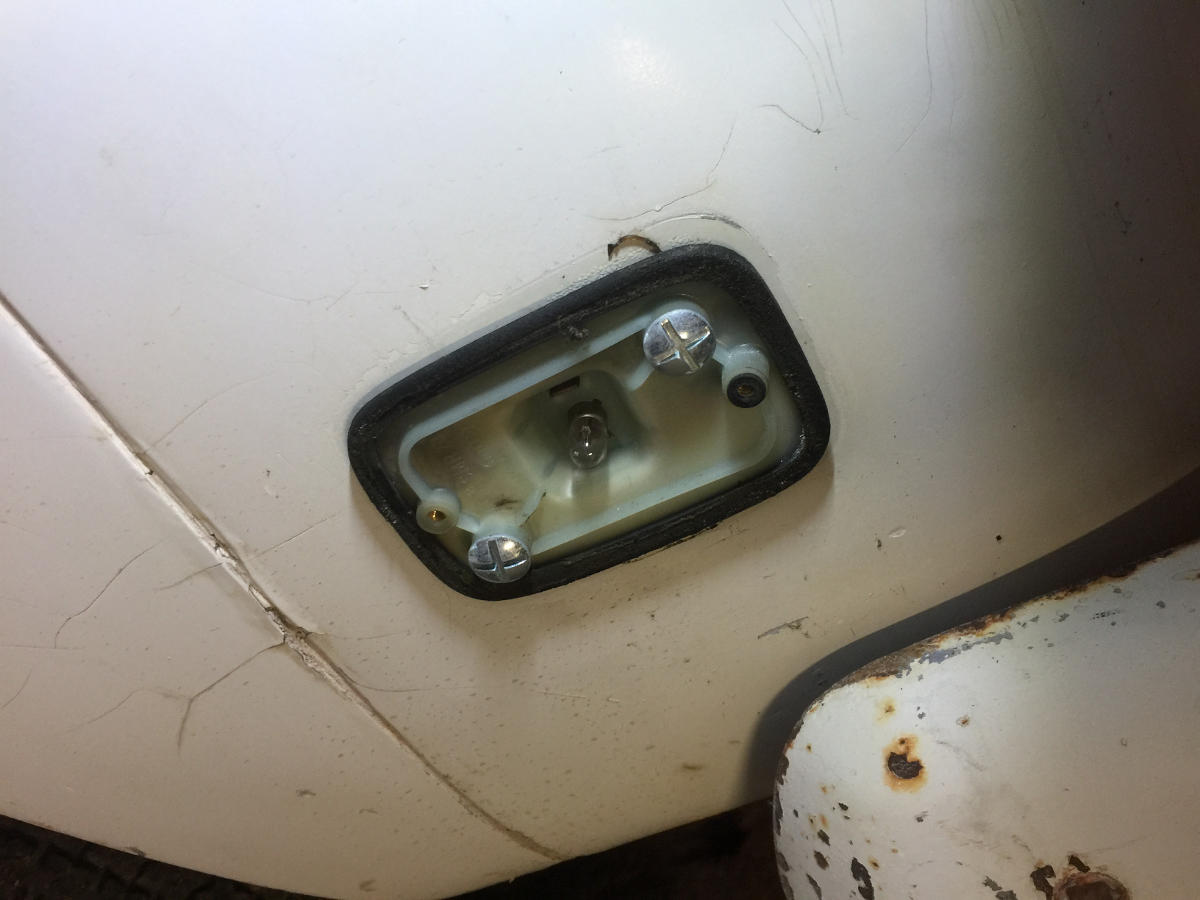
Don’t forget the license plate light. only 2 sheet metal screws to unscrew.
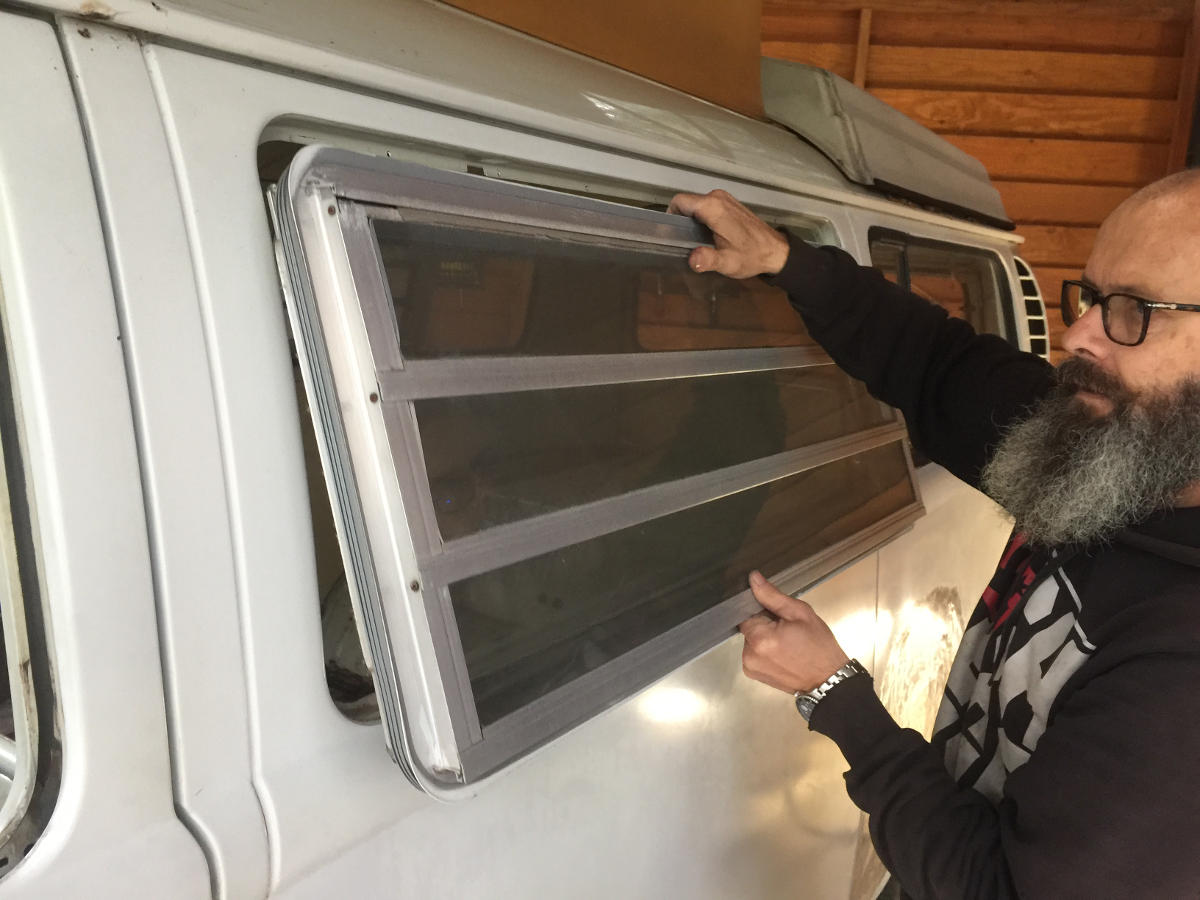
7 – Combi bodywork preparation: the windows
Let’s start with the famous Westfalia jalousie window! Small sheet metal screws screwed from the inside all around hold this window.

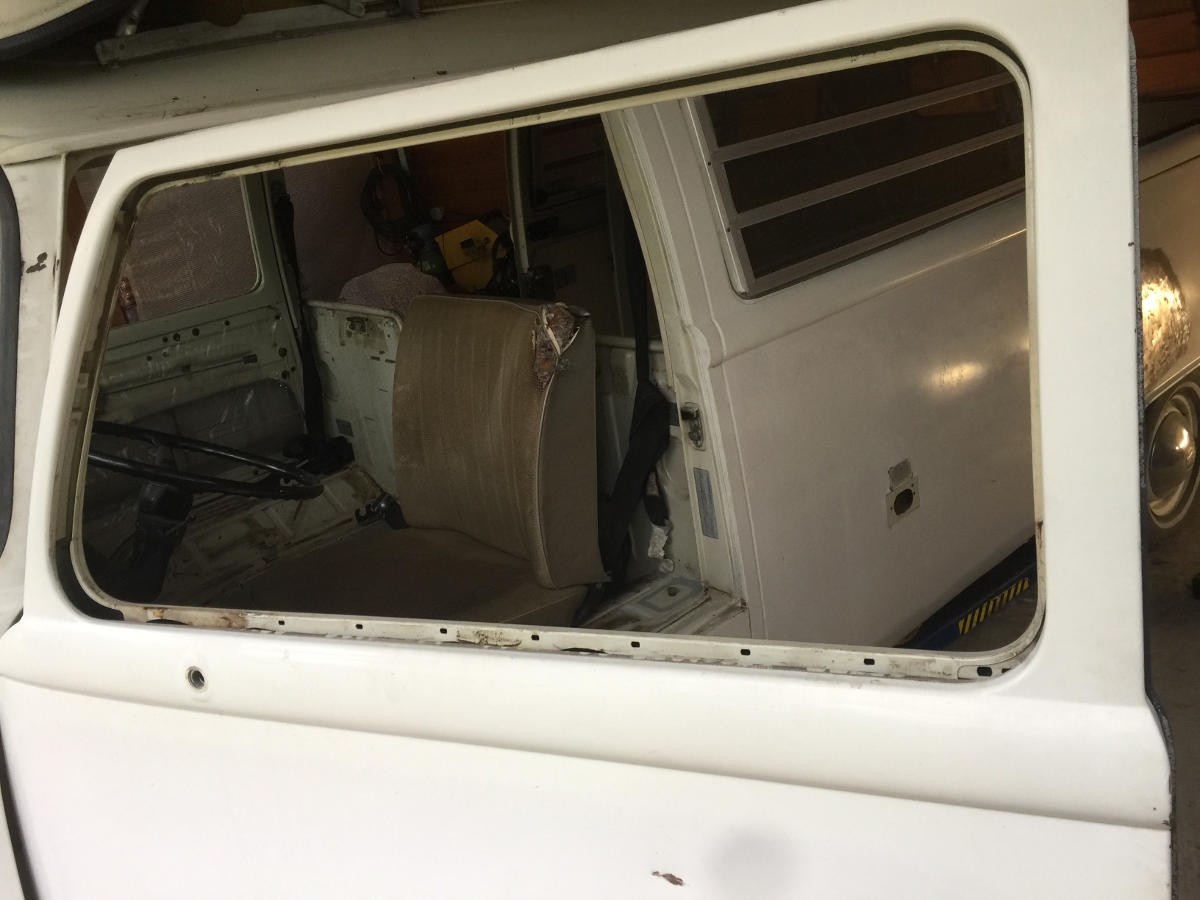
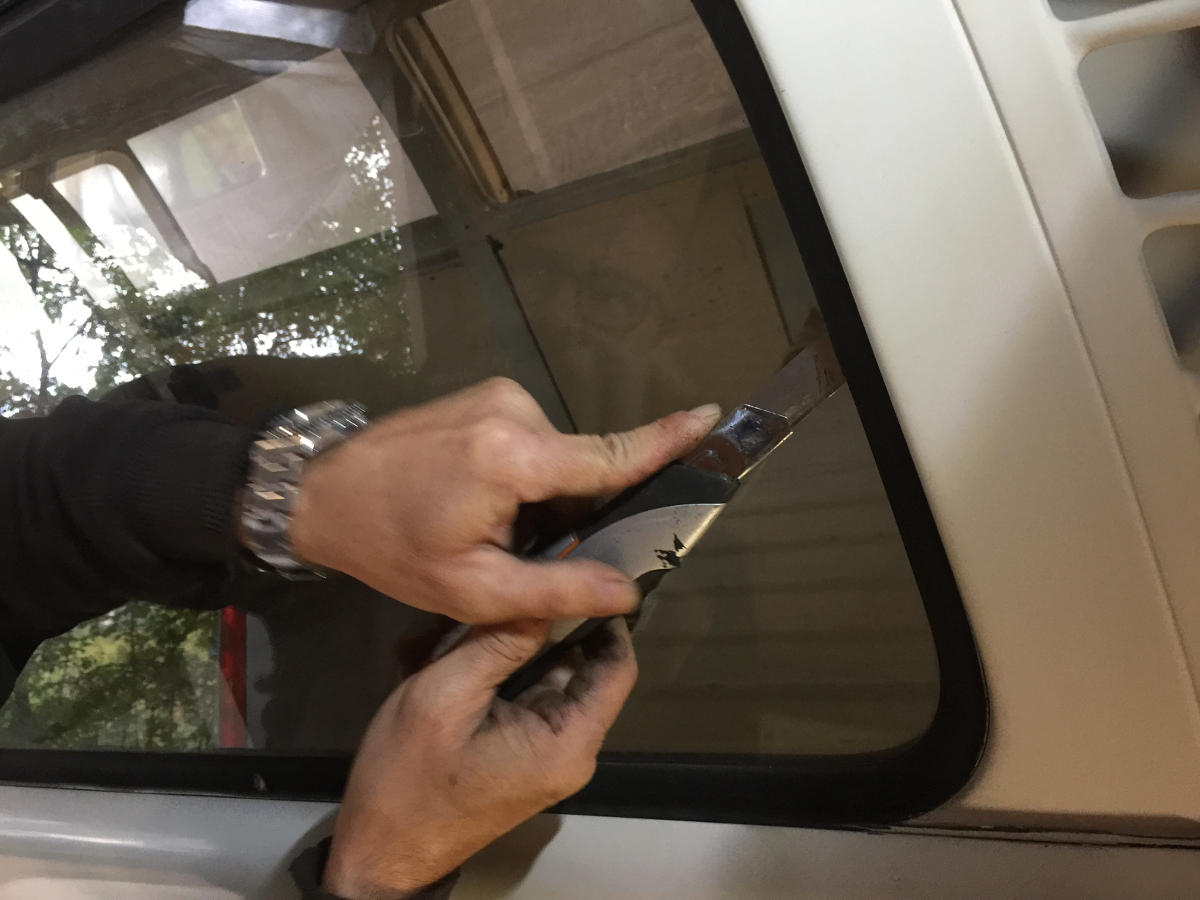
Then come the classic windows on a collector’s vehicle. We cut the old window seals with a cutter. To push them from inside volkswagen truck to outside.
So-called 3/4 windows with a deflector are fitted to the Westfalia and deluxe combi. This deflector must slide towards the center of the frame and thus pass through a notch in the frame to exit towards the outside of the van.
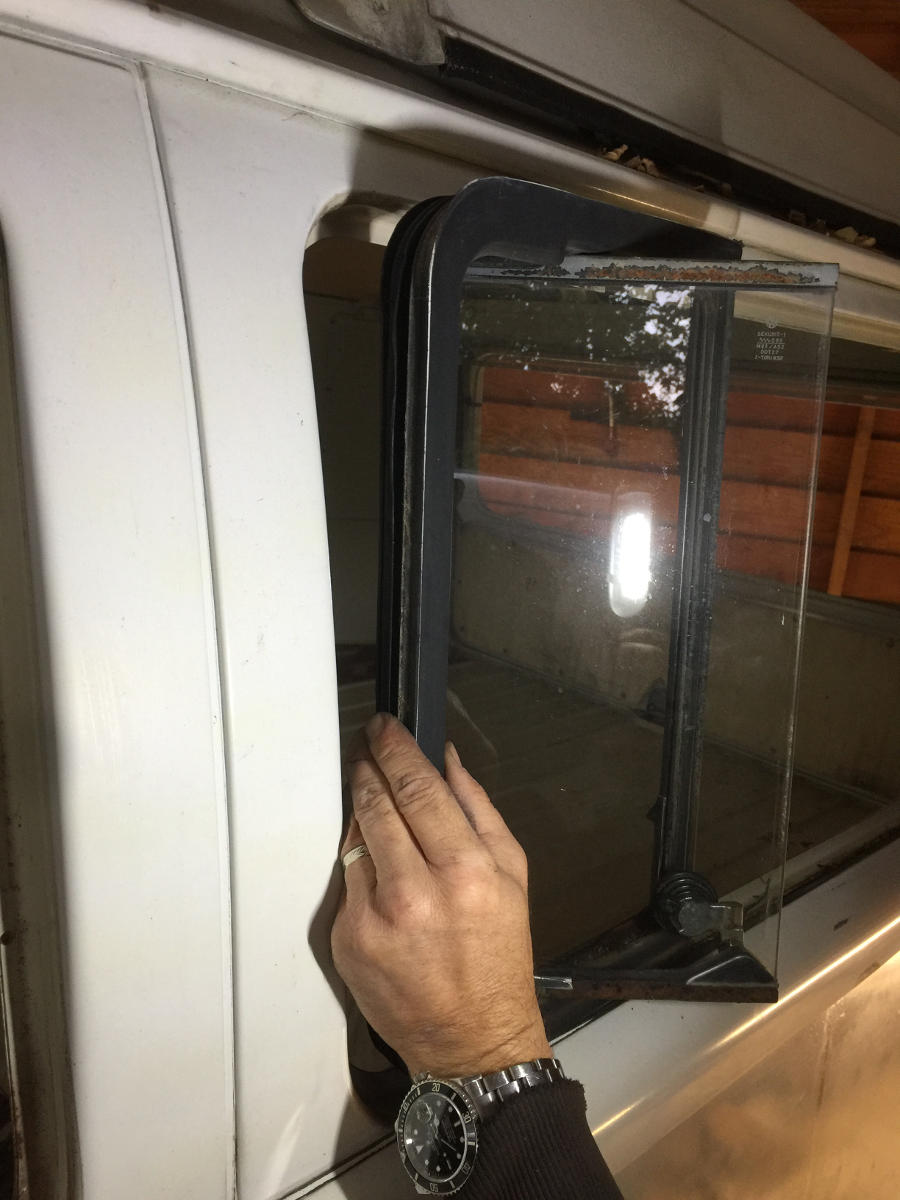
Only the tailgate window is special, it is equipped with a defroster. An electric wire is to be disconnected on each side.

8 – Stripping of front doors
Unfortunately we don’t have any pictures for the doors. Stripping a T2 combi door could be the subject of an article all by itself.
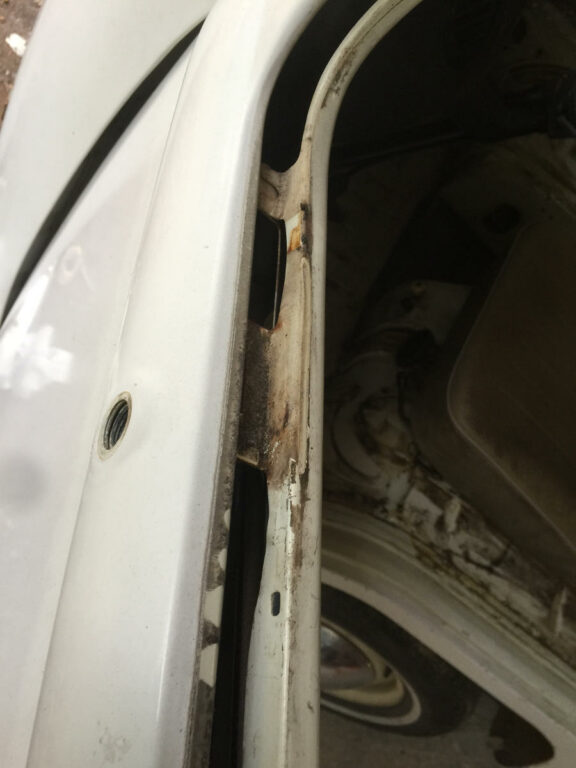
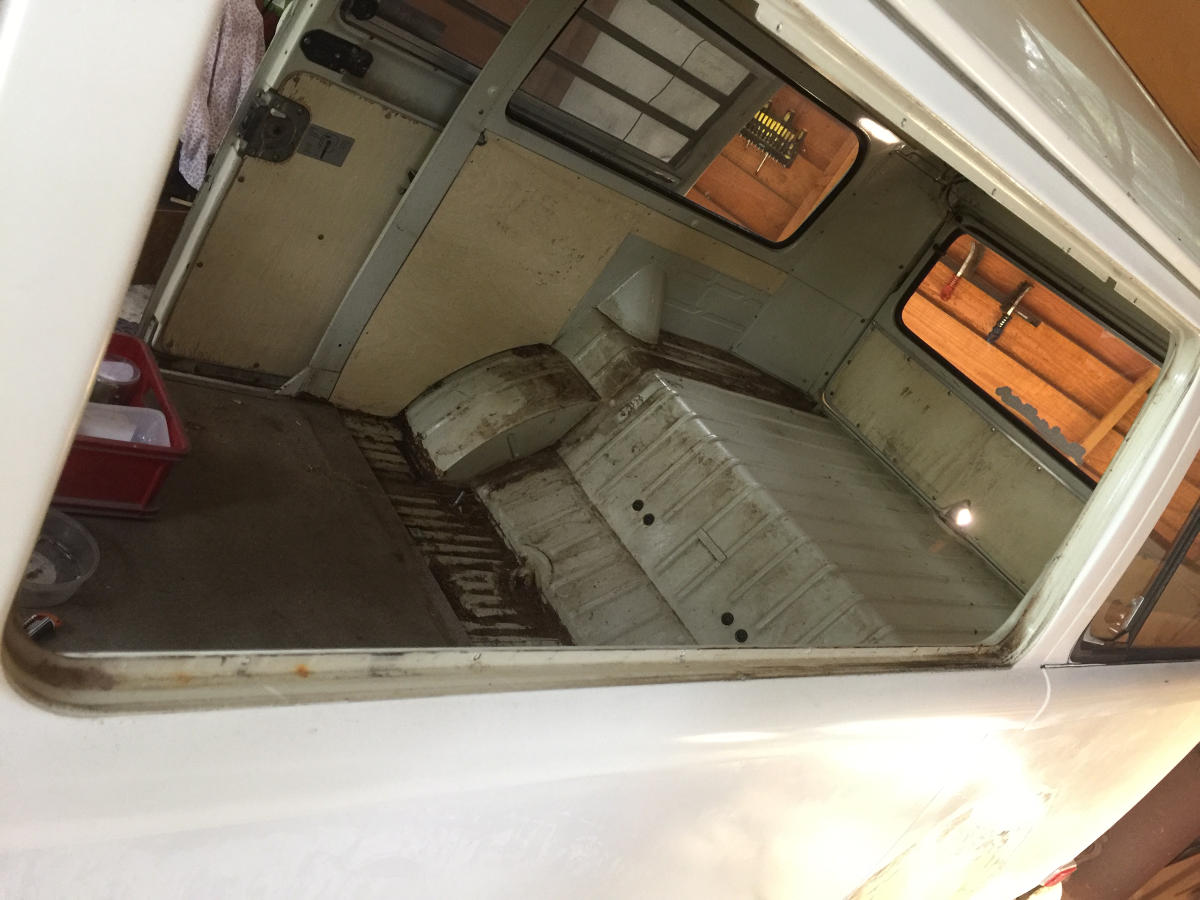
We can still see, once again, the excellent condition of the rust-free window frame!